Add a PXL Primary Controller via Scan
1.0 Introduction
Once the PXL-configured hub has been claimed and updated, you can then add a PXL primary controller. A PXL primary is the first controller on the network (and is address #1). There are two methods for adding a PXL primary controller - you can either scan for the LAN-520 device (the network device that connects to the PXL Primary controller - or, you can manually add the primary PXL controller (if you know the IP address that's assigned to the LAN-520 module).
The following steps explain how to add the primary controller via scan.
- From Borealis, click on Hubs from the main menu on the left.
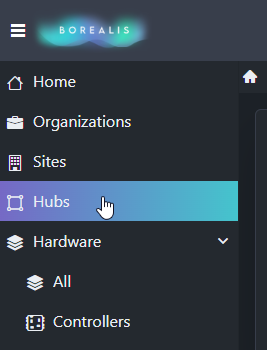
- The hub will appear.
- Locate the Actions drop-down menu and select Scan.

- Borealis will then scan the network for LAN-520 devices.
- After a few seconds the detected primary controller will be displayed.

- Place a check mark in the box to the left of the description.
- Enter a name for the primary controller.
- Set the correct model for the controller (Important Note: by default, the controller model is automatically set as PXL500. If the controller type differs - for example; if the controller has an SB-593 satellite board connected, select the correct controller model from the drop-down list).

- Click the CLAIM button to add the primary PXL to the system.
- Near the top of the screen you will see a notification that the controller is added.

- Go to Hardware >> Controllers and the controller will be added and will show as online.
