Advanced Situation Manager
1.0 Introduction
Advanced Situation Manager is an extension of the Global Lock and Global Unlock features that are available. You can not only use the Situation Manager for unlocking and locking doors but you can create different system behavior for different types of threat levels.
The feature allows you to configure the system to behave in a certain way in the event of certain emergency situations. For example, under a heightened level of security you may wish for certain doors in the facility to be set to Card + PIN mode, such as store cupboards, server rooms or other rooms that contain high-value assets.
Another example of when the feature could be used is in an emergency situation in a hospital. During a facility lockdown you may wish to prevent entry or egress through perimeter doors, but to allow cardholder access to staff at certain interior doors, such as between wards.
Notes:
- This feature is only supported on PXL, NXT Mercury Powered and Mercury controller/hardware types. It is NOT supported with the standard NXT hardware.
- Situation Manager is not supported with PXL controllers when communication is via a modem connection. Situation Manager with PXL controllers requiresa Serial or Ethernet connection and all controllers must have the most up-to-date controller firmware 08.06.09.
2.0 License Requirements
Verify your License has the Feature Enabled
- Go to the Start Menu >> All Programs/Apps >> Doors.NET >> License Manager.
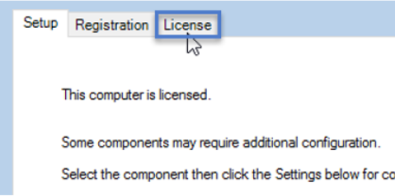
- On the right side of the License Manager, click on the license tab.
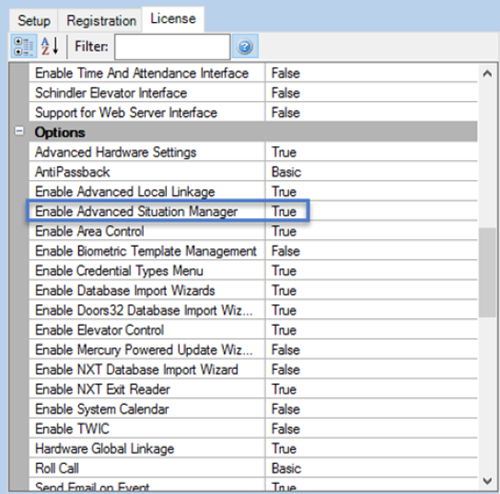
- Scroll down the license settings until you locate Options.
Look for Enable Advanced Situation Manager and verify it is set to True.
3.0 Enable the Feature
- Log into the software
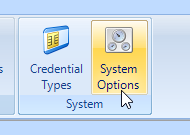
- Go to Setup >> System Options
- Select Situation Manager from the left hand side of the window.
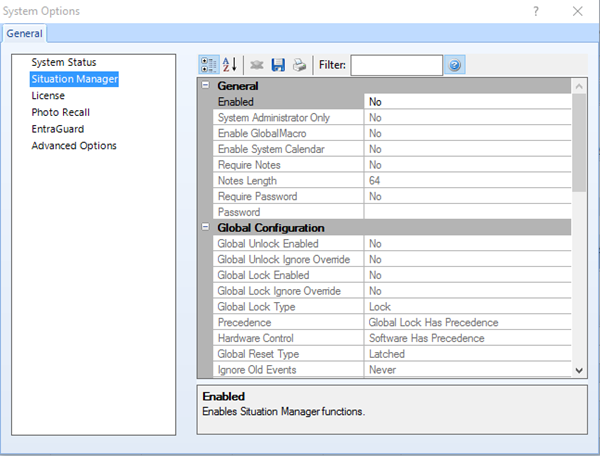
- Enable - Set to Yes to enable this feature.
- System Administrator Only - When enabled, the Situation Manager functions are only shown to users that are 'System Administrators'.
Enable Global Macro - This must be enabled if you want to incorporate Situation Manager into Global Linkage actions.
- Require Notes - When enabled, any software operator that attempts to change the Situation Manager Threat Level will be required to enter notes to explain why Situation Manager will be changed.
- Notes Length - Requires the system operator to enter a minimum number of characters when entering their notes.
- Require Password - When enabled, it requires the system operator to enter a certain password when changing the Situation Manager status...When this setting is enabled you are required to enter the password that the operator will use.
Click the save  icon when you have enabled the feature.
4.0 Threat Level Configuration
You now have to configure the various threat levels for the system, you can define up to five in total. These threat levels determine how readers on the system behave during certain situations. For example, a low threat level might require certain doors to be completely unlocked, a medium threat level certain doors might require a card and PIN for entry and during a high threat level certain doors on the system might be put into Lockdown mode (where cardholders will not be able to gain access and the RTE/Exit button will also be disabled).
Situation Manager can be applied to all doors on the system or on just one door, it's completely flexible.
Note: Situation Manager is NOT supported with the standard NXT hardware.
- Scroll down the Situation Manager settings until you see the Level Configurations.

- Enable all 5 of the levels, then save .
- Close the System Options window
- Go to the home tab.
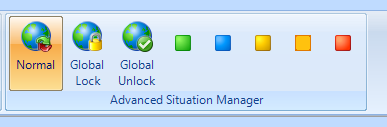
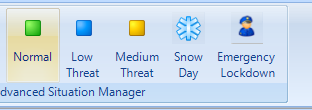
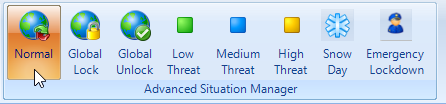
You will see additional icons for the Situation Manager, these are the default icons that represent each of the enabled threat levels.
Note: You can easily replace these icons should you wish to (ideal dimensions are approx. 55 x 55 pixels.
5.0 Edit Threat Level Icons
As you can see the default icons are colored squares to represent each of the 5 threat levels (1 = green, 2 = blue, 3 = yellow, 4 = amber and 5 is red). This section explains how you can replace or add text to these icons.
- Return to Setup >> System Options >> Situation Manager.
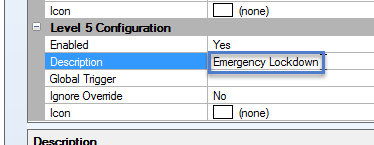
- Scroll down to Level 5 Configuration.
- Enter a new description for level 5. For example: 'Emergency Lockdown'.
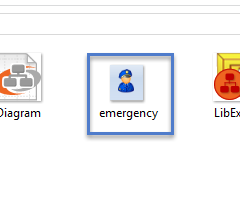
- Create a new image to replace the default red square icon. We recommend using .jpg, .png or .gif format and aim to keep the dimensions less than 50 x 50 pixels.
- Save the new image into the C:\Keri\DoorsNET directory (such as in the folder named Icons).
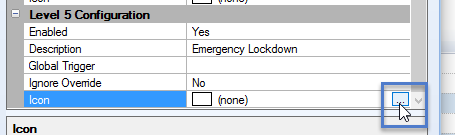
- From the level 5 configuration, click on the icon field.
- Click the browse icon and find the replacement icon.
- Save the settings and close the System Options window.
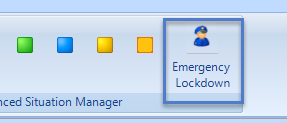
- Return to the home tab and you will that the level 5 icon has changed and the added description is now showing.
- Repeat steps 3 - 9 for any of the other threat level icons you wish to edit.
6.0 Configure the System Behaviour
The next section is probably going to be quite time consuming as it requires you to define how certain readers on the system will behave during the different threat levels. For example, an exterior door may need to be set to Lockout or Lockdown when the system is in Emergency Lockdown or High Threat level situations. Any readers that have not been configured for Situation Manager will continue to operate as per the settings within the controller properties.
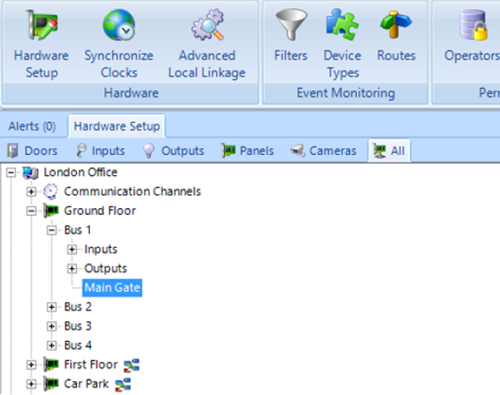
- Go to the hardware tree and select one of the readers you wish to configure for Situation Manager.
- Ensure Advanced View is enabled for the reader properties.
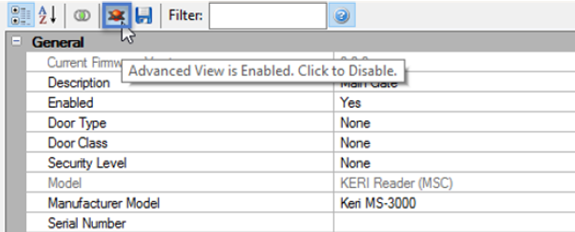
- Scroll down the reader properties until you find the Situation Manager settings.
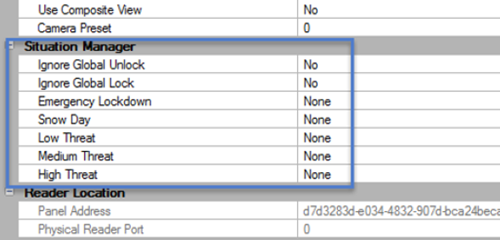
- Use the drop-down selections to define what the reader mode will be when each of the situation manager levels is active. If you leave the threat level at None it will follow the default reader mode (typically card only). You might want to configure the door to be unlocked when there is low threat, Card + PIN when there is high threat and set to Lockdown when there is an Emergency Lockdown situation.

- Save the reader settings once you have made your selections.
7.0 Activating Situation Manager
Usually Situation Manager is activated via the icons that are added to the Home ribbon bar.
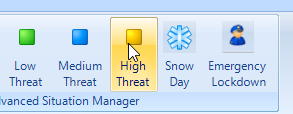
- From the Home tab simply click on the icon that corresponds to the threat level you wish to activate.
- A notification window will appear.
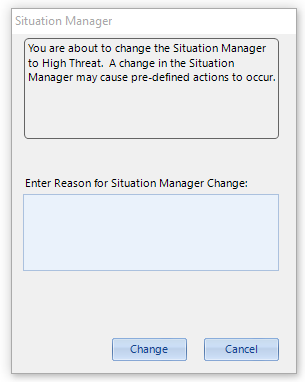
- If Situation Manager has been configured to Require Notes you will need to enter the notes in the field that is labeled: Enter Reason for Situation Manager Change.
- If Situation Manager is set to require a password then you will need to enter the correct password.
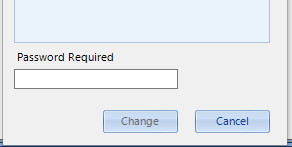
- Click the Change button when you are ready to proceed.
- The reader will immediately go into the correct reader mode for the threat level that you selected.
7.1 From the Ribbon Bar
- You can either select a lower threat level or you can use the Normal button (next to the Global Unlock and Global Lock buttons).
- If you do not have the Global buttons showing on the ribbon bar refer to the section 'Global Unlock - Software' for information on how to set this up.
7.2 Using Global Linkage
If you have Global Linkage enabled on your system you can easily set up a Global Linkage Macro that will activate a threat level.
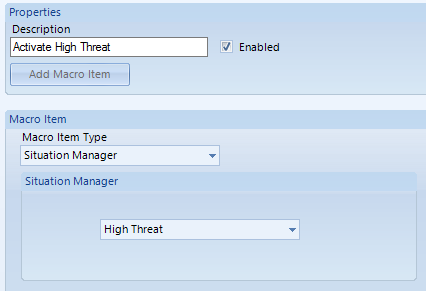
You then create a trigger that will action the macro.
A Global Linkage trigger could be:
- A designated input going active or inactive.
- A valid card read from a specific cardholder at a specific reader.
- Door forced or door held event.
- Double card presentation (only supported with SCP or MSC controllers)
Note: Global Linkage commands generate from the PC and as a result, controllers will not receive any commands if they are offline.
7.3 Situation Manager Overrides
When you configure your Situation Manager Levels there is an 'Ignore Override' setting which by default is set to No. That means you will be able
to override the Situation Manager such as via a remote command from the software (right-clicking the reader and changing the reader mode).
If you set this option to Yes you will then not be able to override Situation Manager.
Related Articles
Advanced Situation Manager Setup Guide
1.0 Introduction Advanced Situation Manager is an extension of the Global Lock and Global Unlock features that are available. You can not only use the Situation Manager for unlocking and locking doors but you can create different system behavior for ...Doors.NET - License Manager and Gateway Setup
1.0 Introduction Doors.NET installation and controller configuration is a three step process. Each of these steps has its own document, with controller configuration broken into separate documents per hardware type. • software installation – ...Doors.NET - License Manager
This video covers the license manager for Doors.NET:Doors.NET - Advanced Overview
An overview of some of the advanced features that are available in the Doors.NET software:Global Unlock - Software
1.0 Introduction This section explains how to use the built-in Global Unlock feature via icons located on the home tab, allowing you to immediately unlock all doors or a designated group of doors, over multiple controllers and even over different ...