Cardholder Enrollment - Block Enrollment
Introduction
Block Enrollment allows an Operator to create a generic set of credentials (using consecutive credential numbers) that can be, in turn, issued on an as-needed basis.
Enable the Advanced View feature set to perform Block Enrollment.
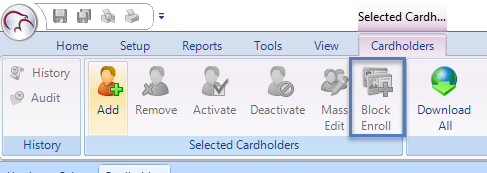
If you are using Doors.NET standard version then the Block Enroll icon will be grayed-out until Advanced View has been enabled.
Block Enrollment Procedure
- Click the
 icon to begin Block Enrollment. A stand alone Block Enroll window opens.
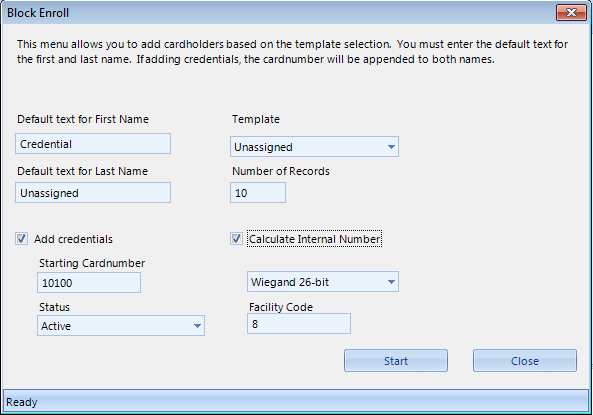
- Enter Block Enrollment information:
- Default Text for First Name/Last Name - this text will appear in the cardholder database with the card number appended to each text entry. Keri recommends using an obvious place holder name until the individual credentials are issued to a user.
- Template - defines the Activation Date and Expiration Date for the enrolled credentials. Select the Template to use for enrollment. The Default Templates set the Activation Date as the date the enrollment is performed and sets the Expiration Date as 365 days from enrollment. The Total Access template selection automatically sets Total Access to the cardholder(s).
- Number of Records - enter the number of credentials to be enrolled.
- Enter Credential information:
- Add Credentials Check-Box - Click the check-box to assign credentials to each enrollment entry.
- Starting Cardnumber - enter the starting card number. Block Enrollment credentials are entered in sequential, numeric order.
- Status - select the Status to apply to all credentials.
- Calculate Internal Number Check-Box - Click the check-box to have Doors.NET automatically calculate the credential's Internal Number as part of the enrollment process.
- Credential Type - select the credential type: Keri NXT, Keri MS, or 26-bit Wiegand.
- Facility Code - enter the facility code.
- Click Start.
- Verify the entered information is correct.
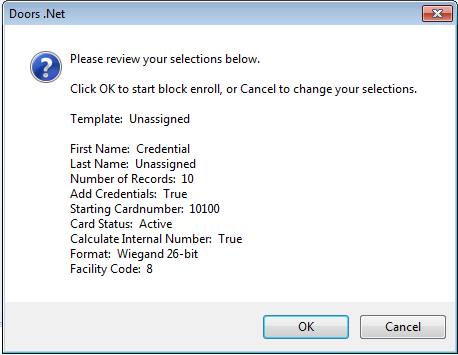
- Click OK to perform the Block Enrollment or click Cancel to correct an entry.
- The bottom of the Block Enrollment window displays a green progress bar.
- Click the X-box to close window once enrollment is complete. The Block Enrollment entries now appear in the Doors.NET cardholder list.

MS Card Enrollment
Related Articles
Cardholder Enrollment - USB Enrollment Reader
USB Enrollment Reader Enrollment 1.0 Introduction Keri Part Number - RDR-ENR1 The RDR-EN1 is a multi-technology USB enrollment reader that is capable of reading both 125KHz proximity cards and 13.56MHz contactless cards and is compatible with the ...Cardholder Presentation Enrollment
How Do I Presentation Enroll Credentials In Doors.NET? 1.0 Introduction The Doors.NET software offers presentation enrollment functionality from any reader on the system. Presentation enrollment allows you to enroll a card from a card read (simply by ...Cardholder Templates
1.0 Introduction The Doors.NET system uses the concept of of templates to facilitate repetitive data entry when creating a new cardholder record. These templates can be changed to suit your preferences. For example, a template can be assigned a ...Design Mode - Cardholder Templates
1.0 Introduction You can use Cardholder Templates and Design Mode to automatically assign the same access group/groups to all block enrolled cards, to assign them with the save company contact information, set certain Advanced cardholders settings or ...RDR-ENR1 USB Enrollment Reader - Installation Guide
USB Enrollment Reader Setup Guide 1.0 Introduction Keri Part Number - RDR-ENR1 The RDR-EN1 is a multi-technology USB enrollment reader that is capable of reading both 125KHz proximity cards and 13.56MHz contactless cards and is compatible with the ...