Cardholder Enrollment - Using Live Events
How Do I Perform Live Events Enrollment?
1.0 Introduction
It is also possible to enroll cards/cardholders through the Live events grid.
Note: This method only detects the card 'internal number' - the unique number that is processed by the controllers and do not allow you to apply the facility code and imprint to the card record. If you require the card 'imprint' and facility code you should use one of the other enrollment methods.
2.0 Enrolling Cardholders and Credentials Using Live Events
2.1 Add a new card record
- Present the card to any reader on the system
- You should get a momentary red LED at the reader.
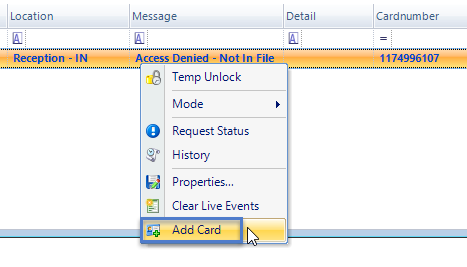
- In Live Events you will see the unique card number appear in the Cardnumber field.

- Right-click on this event and select Add Card.
- Use the default option of Add New Cardholder and Credential.
- The new card number will be displayed again and the status will be set to Active.
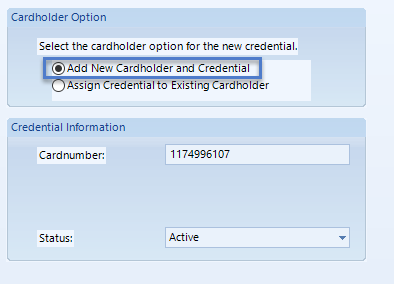
- Click NEXT.
- Enter a first name and a last name for the new cardholder.
- Set temporary card settings, if appropriate to your installation.
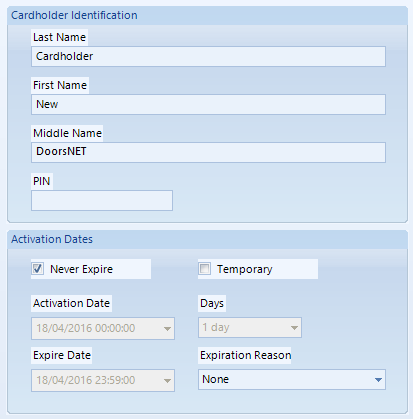
- Click Next.
- Select an access group for the new cardholder, such as Total Access.
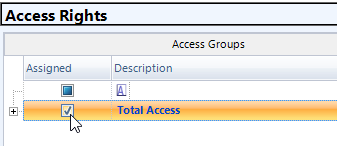
- Click the Add Cardholder button.
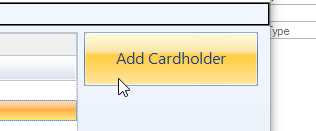
- The new record will be created and will also be sent out automatically to the controllers.
- Present the card to any reader which is added to the assigned access group and you should now get access.
- An access granted event will also appear in Live Events (along with the new cardholders name).

2.2 Add to an Existing Cardholder Record
You can also use this feature to add a new card to an existing cardholder record (such as when issuing a replacement card).
- Present the new card to any reader.
- Right click the Access-Denied - Not in File event.
- Choose Add Card.
- Select 'Assign Credential to Existing Cardholder'.
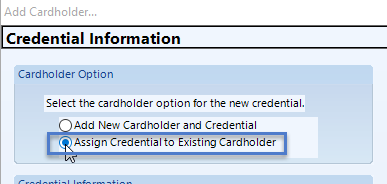
- Status will be set to Active.
- Click NEXT.
- From the available cardholders drop-down list, select the existing cardholder to assign the card to
- Click the Assign Credential button.
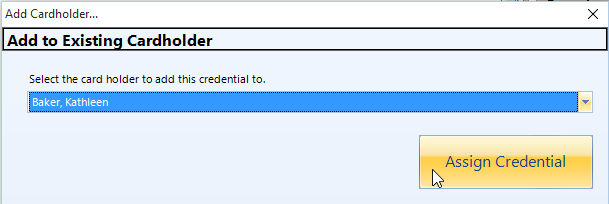
- The Add Cardholder window will automatically close and the new card will be sent out to the controller network.
Related Articles
Live Events
Live Events Status displays real-time transactions as they occur and includes system messages with the newest transaction at the top of the window. Each column can be sorted or grouped to quickly find a specific item. If not already displayed, this ...Cardholder Enrollment - Block Enrollment
Introduction Block Enrollment allows an Operator to create a generic set of credentials (using consecutive credential numbers) that can be, in turn, issued on an as-needed basis. Enable the Advanced View feature set to perform Block Enrollment. If ...Live Events - Event Monitoring
Live Events Status displays real-time transactions as they occur and includes system messages with the newest transaction at the top of the window. Each column can be sorted or grouped to quickly find a specific item. If not already displayed, this ...Cardholder Enrollment - USB Enrollment Reader
USB Enrollment Reader Enrollment 1.0 Introduction Keri Part Number - RDR-ENR1 The RDR-EN1 is a multi-technology USB enrollment reader that is capable of reading both 125KHz proximity cards and 13.56MHz contactless cards and is compatible with the ...Cardholder Presentation Enrollment
How Do I Presentation Enroll Credentials In Doors.NET? 1.0 Introduction The Doors.NET software offers presentation enrollment functionality from any reader on the system. Presentation enrollment allows you to enroll a card from a card read (simply by ...