Doors.NET - Custom Installation
1.0 Introduction
A full installation installs the minimum required components for a single-PC system (the Application Server, hardware gateways, archive service and administrative client). The custom install option is used to install additional client options (Professional Report Client, Map Client, Photo ID Client, Rollcall and Video Clients). Plus, additional system Services, such as Assa Abloy gateway, Video Gateway, Time and Attendance, LDAP, Global Linkage and Milestone Services.
2.0 Download the Current Version of the Doors.NET Software
IMPORTANT NOTE: Effective from Doors.NET v6.0.0 the PXL and Entraguard controllers are not supported. The last version of Doors.NET that supports these controller types is v5.4.0.8. PXLs and Entraguards are fully supported in Borealis and we recommend migrating them to Borealis, our cloud-based platform. There is no change in functionality; only a transition to the cloud - allowing for greater flexibility, new features and ongoing support.
Note: to download the software from the www.kerisys.com you will need to create a free account on the site so you can log in with your user name and password.
- Register for an account by going to kerisys.com, click on Member Login, and fill out the form.
- You will receive an approval email to create your password.
- Enter your registered username and password and log in.
- Click Software & Downloads.
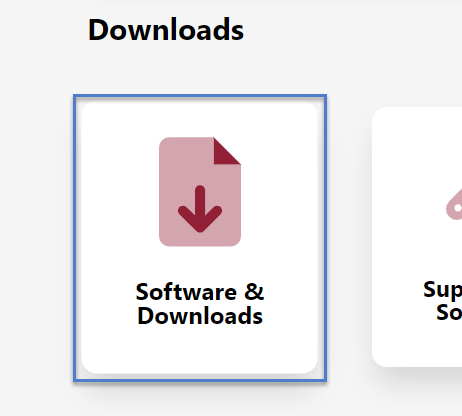
- The software downloads screen will appear.
- On the right-side of the screen is the Download Area.
- At the top of the list will be the latest version of Doors.NET - Click on the link to download the installation file.
Note: there are 2 options:
- The software installer executable file only - This executable installs Doors.NET on your host computer. It does NOT have all the possible options and extras that are found on the USB thumb drive. You must have an active, fast internet connection to complete this process.
- The full software installer - This executable installs Doors.NET on your host computer. This executable includes every required installation file plus files for every option and feature that could be installed, all in one, large compressed file. - Download the relevant file. Keri recommends downloading the full software installer - especially if you are unsure if the host PC, on site, has a fast, unrestricted internet connection.
- Typically the downloaded file will be found in the Downloads folder on the PC.
3.0 Install the Doors.NET Software
- Double-click the self-extracting installation file.
- Wait a few moments while the file extraction initializes, then click the EXTRACT button.
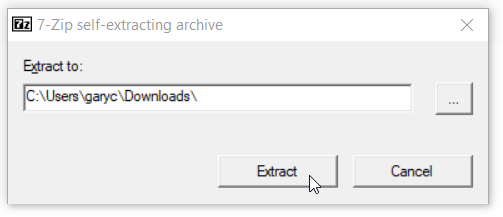
- You can also right-click the file and select 'Extract All'.
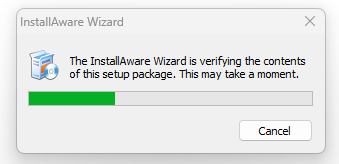
- Once all the files have been downloaded, click on the DoorsNETInstaller executable.
- The installer will initialize.
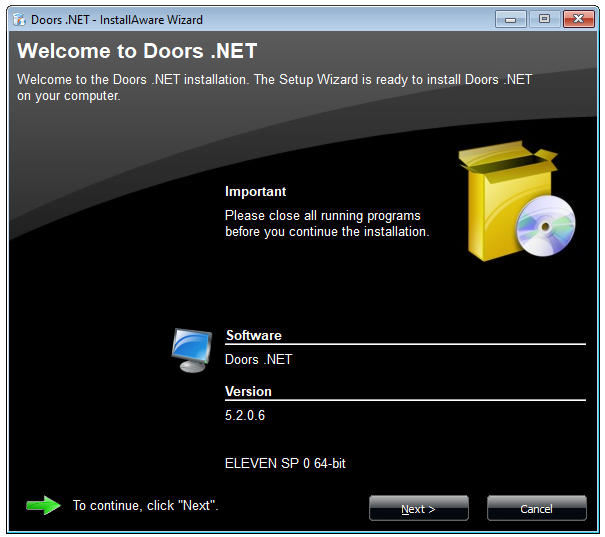
- Welcome - First you will see the welcome screen which displays the version to be installed and the detected Windows operating system.
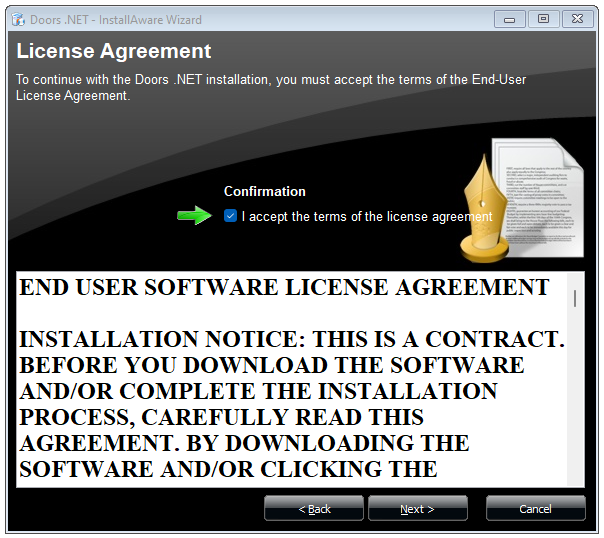
- License Agreement - Read through the license agreement then place a tick in the confirmation box.
- Customer Registration - enter a user name, (this is not the user name for logging into the software) and (optionally) enter an organization name.

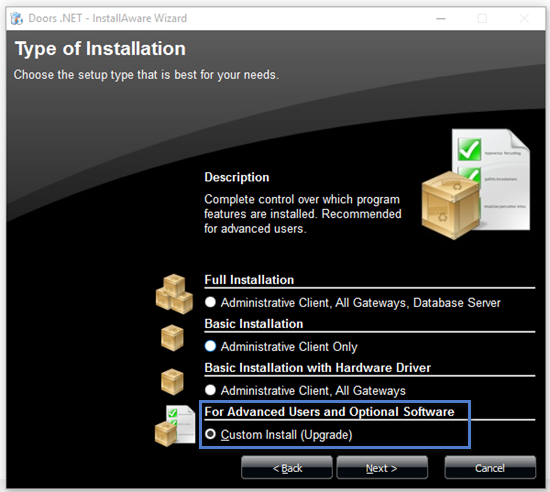
- Type of Installation - Select Custom Install (Upgrade).
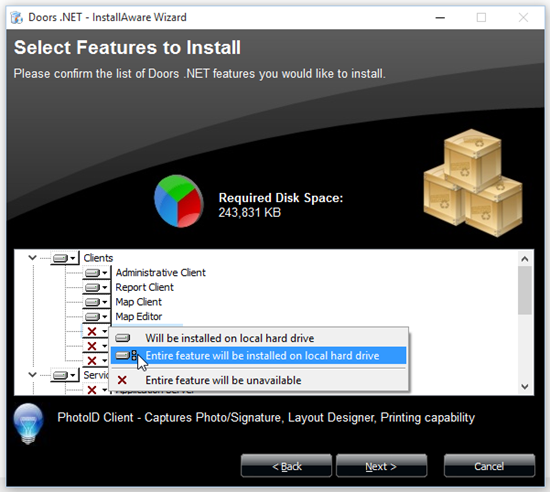
- Features To Install - From the list of Clients, right-click and select 'Entire Feature Will be Installed on Local Drive' for any client feature you wish to install.
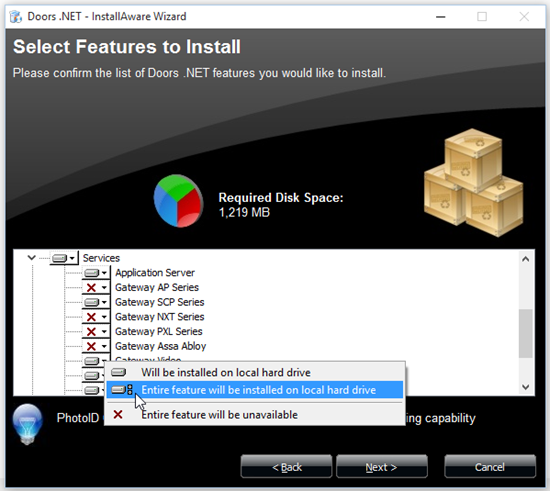
- Do the same thing for the system Services you wish to install.
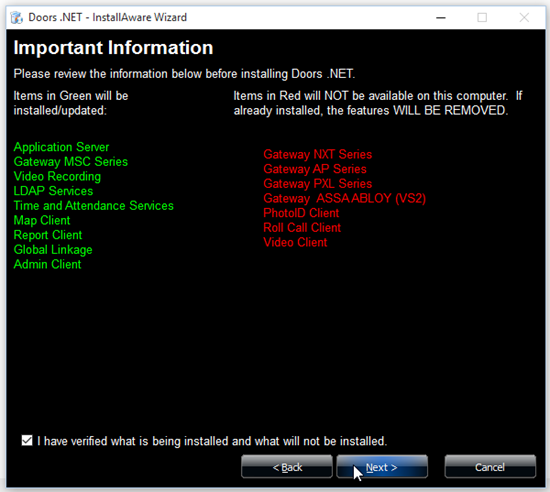
- Review Features - Items on the left in green WILL be installed, items on the right in red will WILL NOT be installed. Review each list and click Back if the lists are not correct. Tick the verification box at the bottom of the window when you are happy to proceed.
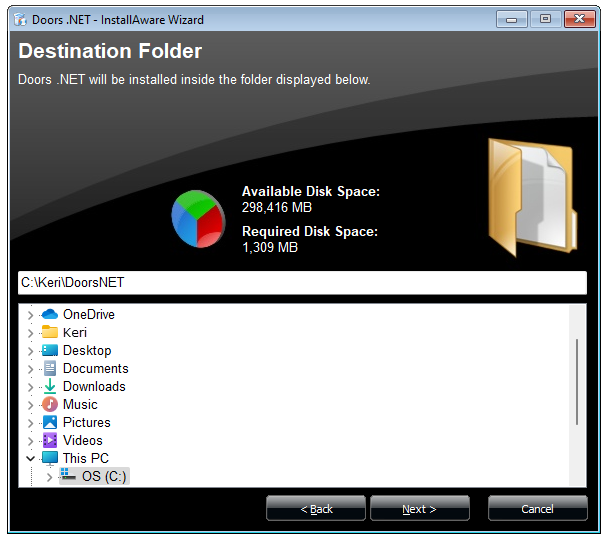
- Destination folder - The default destination file path for the Doors.NET system files is displayed. You can navigate to a different location (such as an external drive or network drive) should you so wish to.
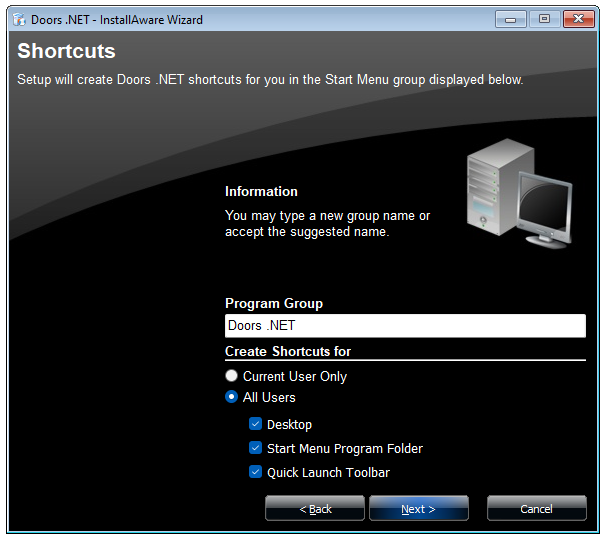
- Shortcuts Selection - Select which Doors.NET shortcuts you wish to be created during the installation.
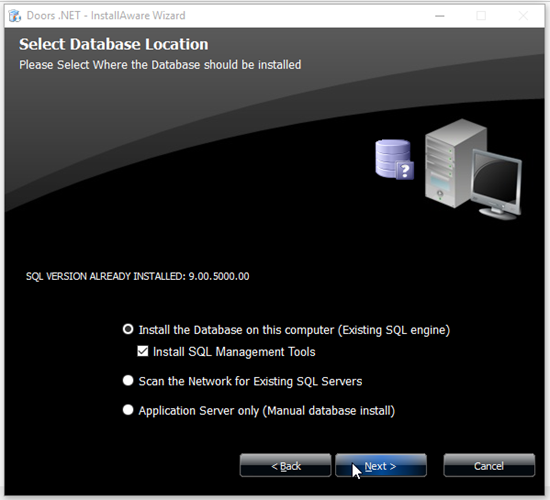
- SQL Database Location - Use the default selection to install SQL Express and the Doors.NET database onto 'this PC'. You can scan the local network for a different, existing SQL Server or select to install the 'Application Server only' if you wish to manually install the database onto an existing SQL Server.
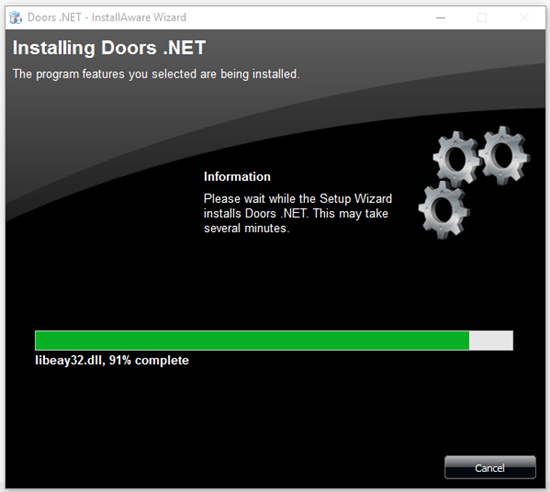
- Ready to Install Page - The final screen of the installation setup wizard, simply click Install and the installation will begin.

- The total installation time will vary upon the specification of the host PC and whether Windows .NET Framework and SQL Server Express needs to be installed. In a worst-case scenario, total installation time should not exceed 45 minutes.
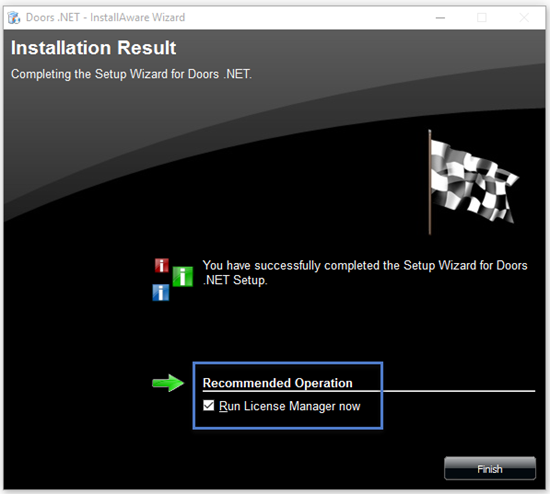
- When installation has completed you will be prompted to run the License Manager (as the next step is to activate your license).
- For an existing system which has been upgraded you will be prompted to restart the PC.
The software is now installed and ready for licensing and gateway configuration.
Related Articles
Doors.NET - Full Installation
1.0 Introduction The Doors.NET software can be downloaded from the www.kerisys.com software downloads section. You can download just the installation file or you can download the entire installation file set (which will allow you to perform the ...Doors.NET - Software Installation Guide
1.0 Introduction Installing the Doors.NET software is very easy and straight-forward. There are just a few host PC requirements that should be met prior to performing the installation: The host PC must be fully up-to-date with the latest Windows ...Doors32 to Doors.NET Database Installation Troubleshooting
Doors32 to Doors.NET Database Installation Troubleshooting - Standalone Document (attached)Doors.NET - Software Overview
Application Server The Application Server is the heart of the Doors.NET system. It is the only component that communicates directly with the database engine. It is an asynchronous, TCP socket server that accepts connections from both the gateway and ...Doors.NET - Software Update
1.0 Introduction The following guide explains how to update the Doors.NET software and if you are using Visual Doors that will also be updated. Software upgrades are automatically handled by the installation program. The installation program ...