EG ONE/One+ Setup - Android App (Obsolete)
Setup Procedure Using an Android Device
NOTE: When using an Android device, the minimum supported version is 4.2. The Entraguard cannot be used with Android versions older than 4.2.
- Factory reset the Entraguard and wait at least 2 minutes while the unit reboots and starts to broadcast its own Wi-Fi name (SSID).
- Ensure you are connected to your local Wi-Fi network (and connected to the internet).
- Log into the Entraguard ONE app.
- Press the add icon.

- Then press on Configure via Wi-Fi.
- Go to your Wi-Fi network connections on your smart device.
- Review the list of available Wi-Fi networks.
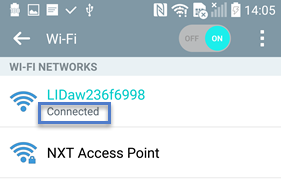
- Locate the Wi-Fi SSID that begins with the letters 'LID' - this is the Entraguard Wi-Fi network.
- Select this network to connect to it.
NOTE: On some smart devices (and with specific settings) you may notice that you are connected to the network automatically when you logged into the app. - Return to the app and press Configuration.

- Press the Next button.
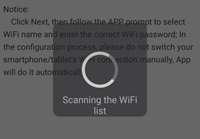
- You will see the messages: 'Connecting' and 'Scanning the Wi-Fi list':
- The name of your connected, local Wi-Fi network will appear.
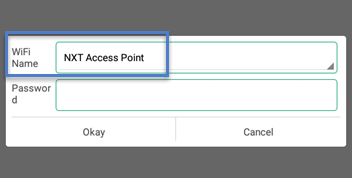
- Enter your Wi-Fi passkey, then click Okay.
- Press the Next button.
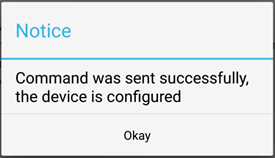
- The following success message will appear.
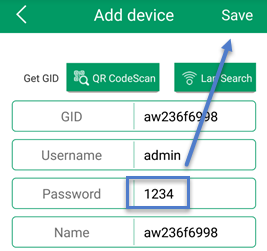
- You will now see the device details screen.
- Once on the device details screen, you should wait at least 2 minutes, while the device is paired with the local Wi-Fi network. The app will also automatically connect you back onto the local Wi-Fi network (and back onto the internet).
- After 2 minutes, enter the Entraguard's default password (1234), then press the Save button.
- You will now see the device home screen and the Entraguard unit will be displayed.
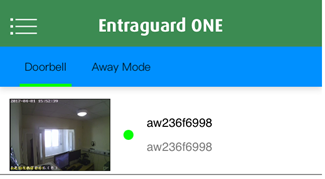
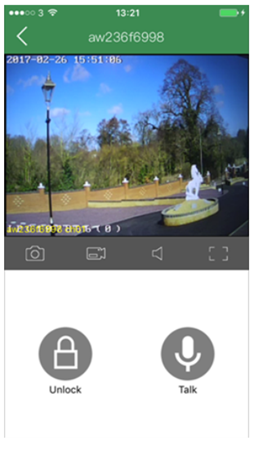
- Press the thumbnail image and the live video screen will open.
Related Articles
EG ONE Setup and User Guide (Obsolete)
Standalone document attached.EG ONE/One+ Setup - iOS App (Obsolete)
Setup Procedure Using an iOS Device 1.0 Introduction The Entraguard ONE is an app-based, VOIP Video doorbell/Intercom system design to secure the entrance of a residential or small, commercial building. The ONE units provide video monitoring of a ...EG ONE - Download and Install the Android App (Obsolete)
The following steps explain how to locate, download and install the Android version of the Entraguard ONE app. NOTE: Your Android smart device must be running a minimum of version 4.2. Download the Entraguard ONE App NOTE: Because of the variety of ...EG ONE/EG ONE+ Data Sheet (Obsolete)
Standalone document attachedEG ONE/ONE+ Important Installation Guidelines (Obsolete)
To avoid any potential setup issues, Keri strongly recommends the following checks (prior to setup): Ensure 'Smart Switch' is off (Samsung Android devices) - it can be switched back on once setup is complete. Ensure mobile data 3G/4G is off (all ...