Generic Database Import (Excel Spreadsheet)
1.0 Introduction
Doors.NET comes with a generic import utility that can be used to import card data from an Excel (XLS or XLSX) spreadsheet. This is not a licensed feature so it can be used free-of-charge with Doors.NET.
2.0 Configure the Import Wizard
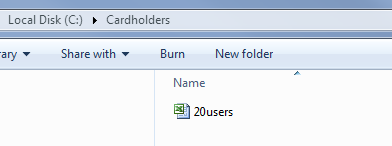
- Create a folder on the C: drive and copy your XLS or XLSX file into it.
- Go to the local drive on the PC, click Keri >> DoorsNET then ensure the files and folders are sorted by type.
- Scroll down the list and locate the executable file named: CardholderImportGeneric.
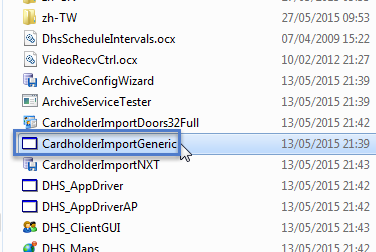
- Execute the file.
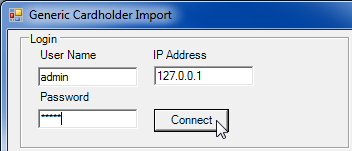
- Login with the default username and password (both admin) then click Connect.
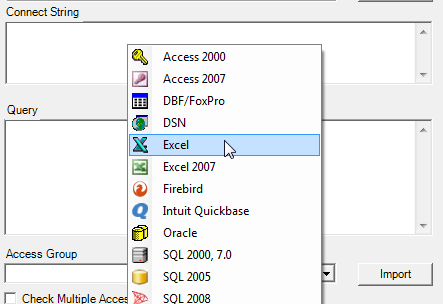
- Right-click in the Connect String text field and select Excel if you are importing an XLS file.
- Select Excel 2007 if you will be importing data from an XLSX file.
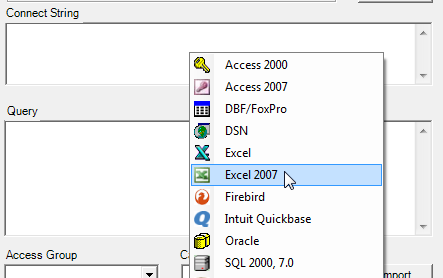
- The following text will be added (if using XLS/Excel) -Provider=Microsoft.Jet.OLEDB.4.0;Data Source=C:\MyExcel.xls;Extended Properties="Excel 8.0;HDR=Yes;IMEX=1";
- If using an XLSX/Excel 2007 file, the default text will be: Provider=Microsoft.ACE.OLEDB.12.0;Data Source=c:\myFolder\myExcel2007file.xlsx;Extended Properties="Excel 12.0 Xml;HDR=YES";
- Change Source=c:\myFolder\myExcel2007file.xls(x) to the specific name of the folder you created and the exact name of your Excel file.
- For example: Source=c:\Cardholders\20users.xls(x)
- In the Query text field right-click and you will see the names of the DoorsNET cardholder data fields.

IMPORTANT NOTE: You should ensure that these exactly match the headers in the Excel spreadsheet. - Once your spreadsheet headers exactly match those that display (when you right click) enter the following query (or similar):
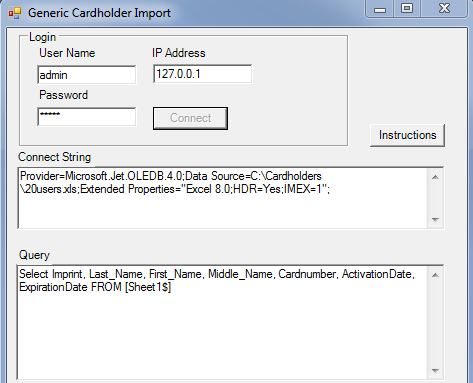
Select Imprint, Last_Name, First_Name, Middle_Name, Cardnumber, ActivationDate, ExpirationDate FROM [Sheet1$] - Sheet 1 is the default name of the first sheet of an XLS or XLSX spreadsheet. - If the headers in the spreadsheet do not match, you will need to type Select [HeaderName 1] AS - then right-click and select the Doors.NET cardholder field to map it to.
For example FNAME AS First_Name, LNAME AS Last_Name, MNAME AS Middle_Name, etc FROM [SHEET1$]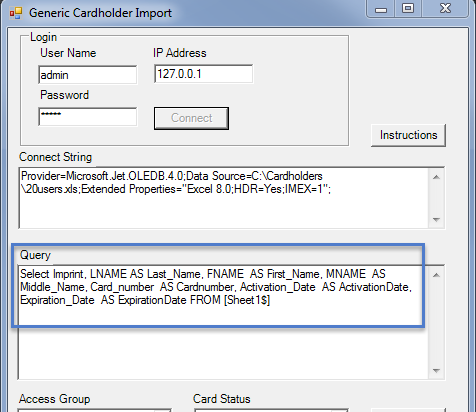
- Your import wizard should resemble what is shown below:
- Next, assign a valid access group to the imported cardholders or set them to Unassigned.
- Set the card status to either active or inactive.

- Click the Import button. You will see the following window.
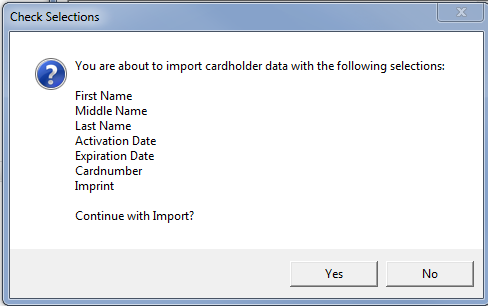
- You will then see a review window similar to that shown below.
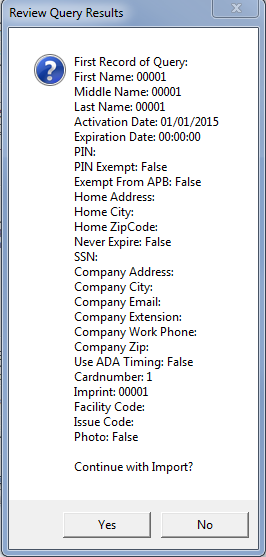
- Click Yes and importing of the data will begin.
- At the bottom of the wizard you will see an indicator each time a record is saved.
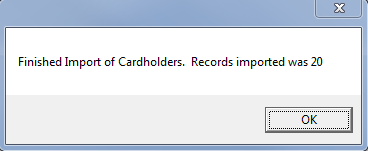
- Once complete a notification will appear confirming the importing has finished. Click OK to this message.
- On the import wizard you now have to place a tick in the option "Check Multiple Access Groups". Then click the Import button again. This will upgrade each of the cardholder records so that in the database they will support the assignment of multiple access groups.

- Click Import again, each of the imported records will be scanned, then the following message will appear.
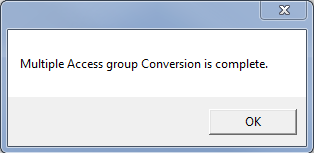
- OK this message and close the import wizard.
- You will now be able to log into the Doors.NET software and view the imported cardholder records.
Related Articles
LDAP Import for Active Directory - Overview
The LDAP Import feature has two parts: a stand-alone LDAP Import utility and an LDAP Synchronization Task that runs continuously to keep the Doors.NET Cardholder database synchronized with the Active Directory Users database. The LDAP Import Utility ...Doors.NET Troubleshooting Guide
The following guide aims to assist you in troubleshooting and identifying some of the issues that may be encountered when setting up and using the Doors.NET software and supported hardware. Where there are multiple possible causes, the suggested ...Design Mode - Import and Export Controller Settings
Design Mode can be used to transfer configuration information from one controller to another. Controller settings such as; strike time, auto-unlock time schedule, reader type, filters and device type settings, DDA timings, door sense and RTE ...Doors.NET to Borealis Database Conversion Procedure
1.0 Introduction Keri Systems White Glove Conversion procedure will handle the complete conversion of your Doors.NET database to Borealis. The White Glove Conversion procedure will be completed entirely by Keri Systems conversion experts so you will ...Local Linkage - Import and Export
The Linkage Export/Import feature allows you to save Local Linkage actions which can then be imported and used on other controllers (or completely different Doors.NET systems), potentially saving a lot of system programming time. Note: ALL the ...