Restore the Doors.NET Database
Instructions for Restoring the Doors.NET SQL Database
Notes:
- performing this task will completely overwrite ALL data in the existing Doors.Net database.
- this backup procedure pertains to Doors.Net databases using Microsoft SQL Server 2016 however, the procedure is almost identical to other versions of SQL Express.
- If you are migrating your Doors.NET system to a new PC and you are using encrypted administrator passwords (Doors.NET v4.0.3 onwards), be aware that you will need to re-use your existing license key. Contact Keri Systems inside sales with your existing Doors.NET license key and it will be modified so that it can be re-activated on the new PC.
- Stop all the Doors.NET Windows services.
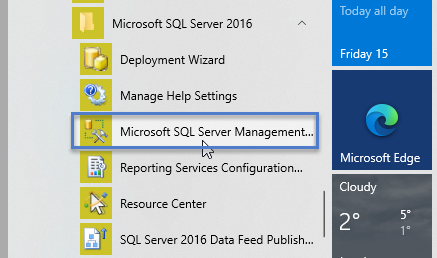
- Open the SQL Server Management Studio Express application via the Windows Start Menu (Start >> Microsoft SQL Server 2016 >> Microsoft SQL Server Management Studio).
- Right-click and select 'Run as Administrator.
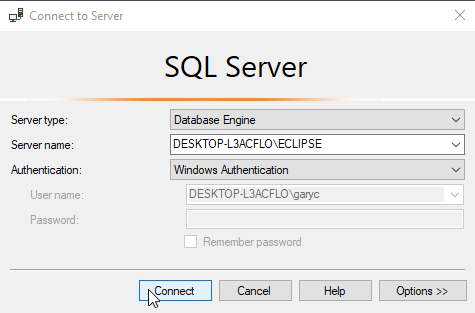
- Login using Windows Authentication.
- Right-click and select 'Run as Administrator.
- On the login window, the Server name should be the host PC name and then /ECLIPSE. This is the default instance name for the Doors.NET database.
- Click the CONNECT button to login.
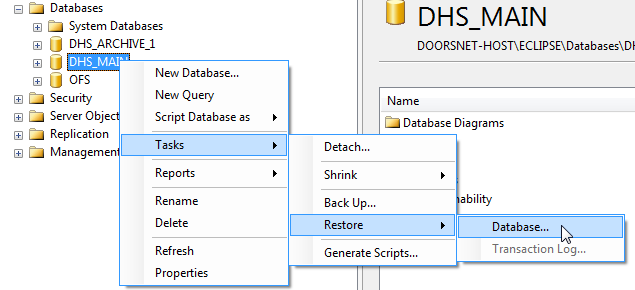
- Expand “Databases” in the left hand pane and find DHS_MAIN.
- Expand “Databases” in the left hand pane and find DHS_MAIN.
- Right click on the DHS_MAIN database and choose Tasks > Restore > Database.
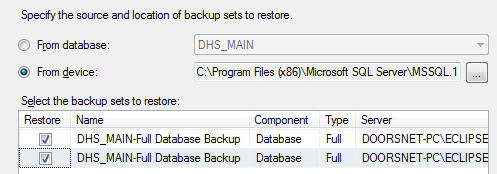
- In the “Restore database DHS_MAIN” Window in the right hand pane, right click on the “From Device” radio button.
- Click on the square icon with the three periods on it that is to the right of the From Device box. This will bring up the “Specify Backup” window. Click on the “Add” button.
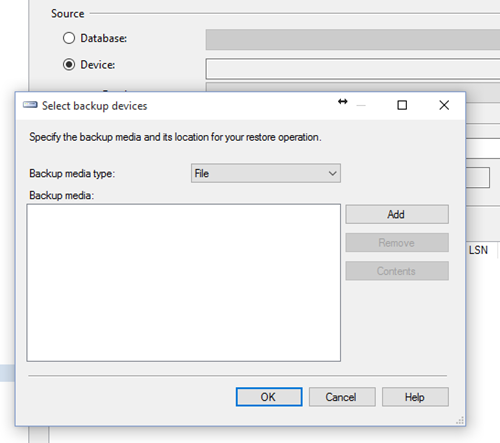
- Once the Add button is pressed, it will bring up the contents of the SQL backup folder (C:\Program Files\Microsoft SQL Server\MSSQL.1\MSSQL\Backup) - This folder is where the backup files reside. A backup file is created here where you click the Backup icon within the Doors.NET user interface (Tools >> Backup).
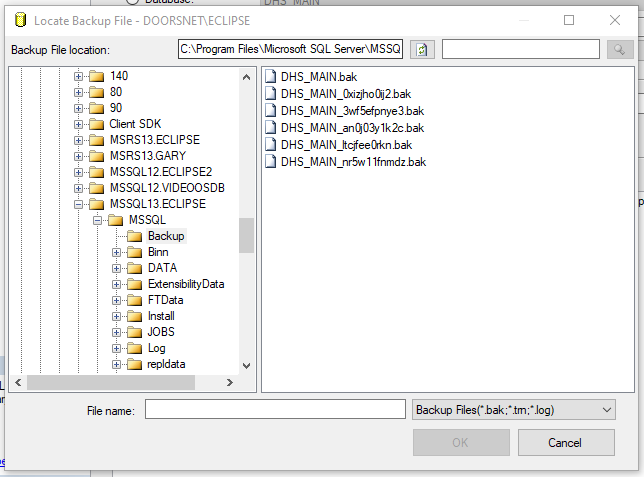
- Select the backup file.
- Click the OK button.
- In the Restore Database DHS_MAIN window, click on the check box for the selected database.
- In Restore Database DHS_MAIN in the left hand pane, right click on “Options” then check the “Overwrite the existing database” checkbox.
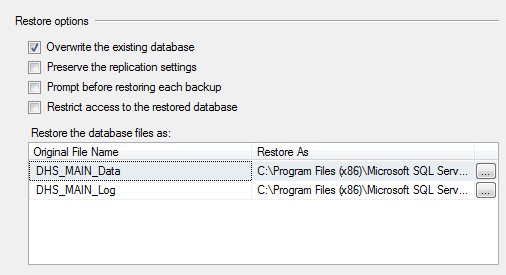
- Click OK to start the restore procedure. Check the “Progress” box in the lower left hand pane in the Restore Database DHS_MAIN window to know when the backup in completed.
- Find the UpdateDHSDB.exe in the C:\Keri\DoorsNET folder and run this program.
- Restart all Doors.Net services.
Moving the Database to a Different/New PC
To move a database from one PC to another, run a backup on the old install of Doors.Net. Retrieve the latest backup file on that PC from the C:\Program Files\Microsoft SQL Server\MSSQL.1\MSSQL\Backup folder and move that file to the same directory on the PC with the new install. Then restore using that backup file and the above procedure.
- If you are migrating your Doors.NET system to a new PC and you are using encrypted administrator passwords (Doors.NET v4.0.3 onwards), be aware that you will need to re-use your existing license key. Contact Keri Systems inside sales with your existing Doors.NET license key and it will be modified so that it can be re-activated on the new PC.
Related Articles
Doors.NET Cloud Backup and Restore
1.0 Introduction Doors.NET Cloud Backup and Restore allows you to create Amazon Web Services (AWS) backups of your Doors.NET database and all Doors.NET configuration files. Cloud Backup is a subscription service (with a 1-year license term) which ...Scheduled Database Backup and Restore - Standalone Document
Scheduled Database Backup and Restore - Standalone Document (attached)Doors.NET Cloud Backup and Restore Setup - Standalone Document
Doors.NET Cloud Backup and Restore (PDF) PN:02438-001 Rev A (attached)Doors.NET Standalone Technical Documents
Here you can download various Doors.NET technical documentation in PDF format: Doors.NET Setup and Installation Guides Doors32 and PXL Controller Upgrade Data Sheet Recommended PC and Operating System Information Doors.NET Ethernet Communication ...Doors.NET Data Sheet
Doors.NET Data Sheet (attached)