Photo ID - Creating Card Templates
Creating Card Templates in the Photo ID Client
- Click/double-click on the 'Keri Photo ID Icon' located on the desktop or via Start >> All Programs >> Doors.Net >> Keri Photo ID.

- Log into the Photo ID client using the default username and password (both 'admin').

- On the left-hand pane (User Manager) you will see: Cardholders and PhotoID Layouts, right-click PhotoID Layouts and select 'New Template'.
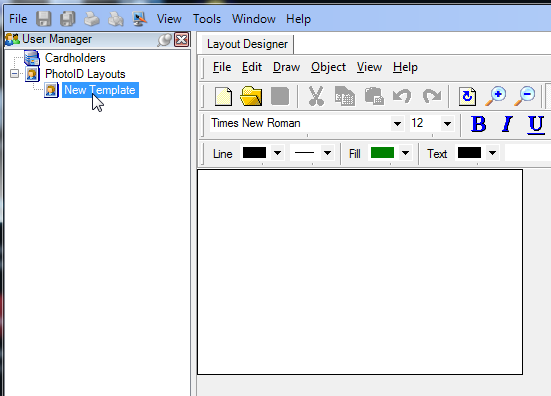
- Select the 'New Template' entry that immediately appears on the left pane. The Layout Designer then appears on the main window.
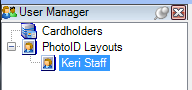
- Right-click the New Template name and select rename then give the template a new name. Press Enter on the keyboard and the new name is saved.
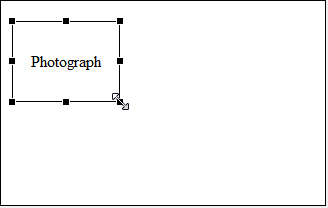
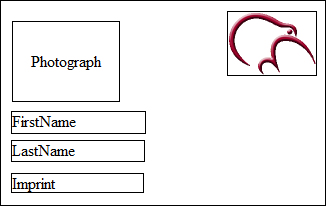
- Click the Dynamic Image icon.
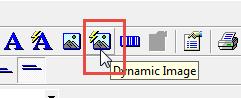
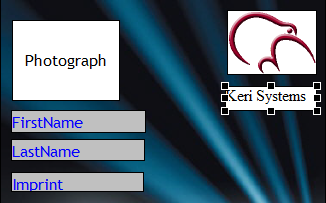
- You will then be able to use the cursor to create a placeholder on the card template for the cardholder photograph.
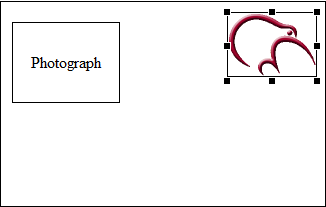
- Next, click the Static Image icon.
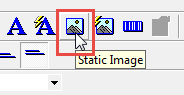
- This will allow you to add an image such as a company logo which will appear on every card that is printed with this template.
- Next, click the Dynamic Text icon. This option allows you to select a dynamic card record field, such as cardnumber, department group, first name, last name or one of the cardholder custom fields, for example.
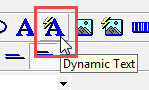
- Use the cursor to create a placeholder on the template located where you want the information to be displayed.
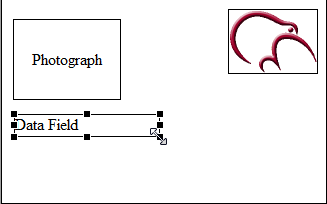
- Use the dynamic field drop-down list to select which field you want to use in this location.
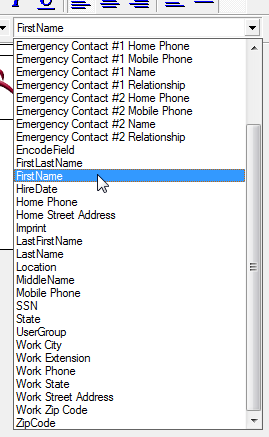
- Repeat the same process for additional dynamic fields you wish to have on the template.
- You can easily change the dynamic text font colour and background colour by clicking the placeholder then using the edit options in the toolbar.
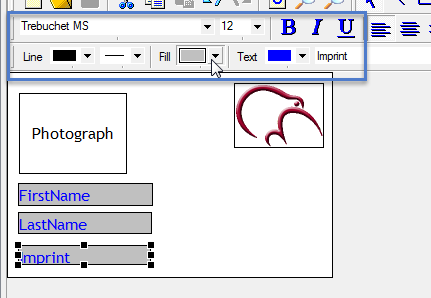
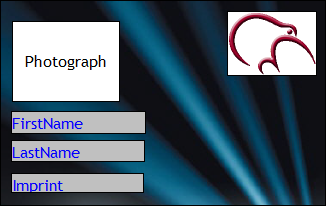
- To add a background image to the template, right-click on a blank part of the template and select Background Image.
- Navigate to an image saved somewhere on the PC, then click open and the background image will be applied.
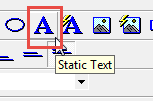
- Click the Static Text icon to add text that will appear on every card printed with this template; such as a Company Name.
- Draw a placeholder on the template of where you want the static text to go.
- Right-click in the field and select properties.
- Click on the Text tab and enter the static text that you wish to display.
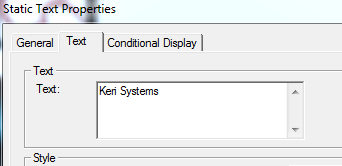
- Click OK and the static text will appear on the template.
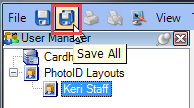
- When you have completed the card template design click the blue Save All icon in the upper left of the Photo ID Client.
- The template will now be ready to assign to cardholders for creating the badges.
Related Articles
Photo ID Badging Client - Quick Start Guide
Logging In Click/double-click on the 'Keri Photo ID Icon' located on the desktop or via Start >> All Programs >> Doors.Net >> Keri Photo ID. Log into the badging client using the default user ID and password (both 'admin'). On the left-hand pane ...
Photo ID Client Overview
The Photo ID Badging client is a licensed Doors.NET components that allows you to: Design and print badges with photo IDs and custom graphics on plastic cards, overlays for standard proximity cards, or ISO thin proximity cards. Single card database ...
Photo ID License Activation - Online
1.0 Introduction This article walks you through the process of activating the Doors.NET Photo ID client using an active, unrestricted internet connection. 2.0 Ensure Badging is Enabled on Your Doors.NET License The first thing you should do is check ...
Photo ID - Badging Printer Setup
You will need to set up a printer before creating and designing cards. All necessary printer and page information is stored in the card design file (.DGN), which in turn is used by the software as a card format (a packet of information that includes ...
Cardholder Templates
1.0 Introduction The Doors.NET system uses the concept of of templates to facilitate repetitive data entry when creating a new cardholder record. These templates can be changed to suit your preferences. For example, a template can be assigned a ...