RDR-ENR1 USB Enrollment Reader - Installation Guide
1.0 Introduction
Keri Part Number - RDR-ENR1
The RDR-EN1 is a multi-technology USB enrollment reader that is capable of reading both 125KHz proximity cards and 13.56MHz contactless cards and is compatible with the Doors.NET and Visual Doors software applications.
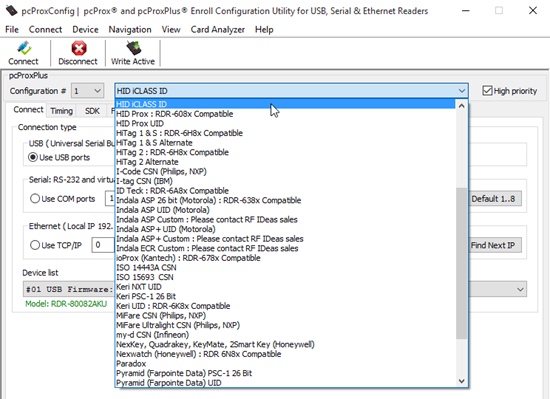
Using the pcProxConfig software you can quickly and easily configure the USB reader to use one of over 45 different card types including the following:
- Awid
Corbin Russwin®
- Deister UID
DESFire CSN
- EM 410x (EM 4102, EM 4105)
etag CSN
- Farpointe Data Pyramid PSC-1
HID iCLASS CSN
- HID iCLASS ID
HID iCLASS SE ID
- HID Prox
Indala 26 bit (Motorola)
- ISO 14443A CSN
ISO 15693 CSN
- MIFARE® Classic
- MIFARE® DESFire (+EV1 and EV2)
- MIFARE® Plus
Important Note: The pcProx Plus reader can detect Keri's KC-10X, KC-26X and Keri NXT cards but it does not correctly decode the credential's facility code and imprint number. As a result we DO NOT recommend using this reader for those card types. You should use one of the alternative enrollment methods (Presentation, Manual or Block enroll). This reader is designed for situations where you are not using Keri credentials and do not know the programmed card number.
By default, the pcProxPlus USB enrollment reader is configured to read HID prox and HID iClass credentials.
Notes:
- When presentation enrolling DESFire EV1 and Mifare credentials you will have the ability to read the cards unique Card Serial Number (CSN), it will not provide you with the ability to load encryption keys and read data stored in one of the card's secure memory sectors.
- This document covers the new model of the USB Enrollment reader - 80032BKU. This new reader model is NOT compatible with the older PcProx software v5.3.3. This new reader model (80032BKU) requires PcProx software v6.0.9.
When cards are enrolled, the card's internal number will be detected, this is the number which is subsequently processed by Doors.NET.
You will need to enter a custom Wiegand format if you wish to detect the card's programmed information, such as the facility code (where applicable) and printed card number (imprint). If you enroll cards which are programmed with industry standard 26-bit then this additional information is detected automatically (simply select Calculate Internal Number and verify that Wiegand 26-bit is selected from the format drop-down list.
The following steps explain how to install the pcProx configuration utility to set a Mifare format to the reader and then how to presentation enroll a Mifare card using the USB enrollment reader. You can then use the credential with a Mifare-compatible proximity reader, such as the Delta 3 or Delta 5 by Farpointe Delta, for standard access control.
2.0 Installing the pcProxConfig Software
The pcProx configuration software is a third-party utility that allows you to configure the desired credential data output for the reader. The software is quick and easy to install and is used for identifying card types, analyzing card data and configuring the reader to match the same format for your credential type.
Note:
- The following steps require you to download the latest version of the software from the www.kerisys.com website - before you can do this you will need to register an account and login with your registered username (email) and password.
- The current version of software is v6.0.9.
- Open a web browser and go to www.kerisys.com.
- Click the MEMBER login button in the upper-right corner.
- Log in with your registered user name and password.
- You will be directed to the downloads section.
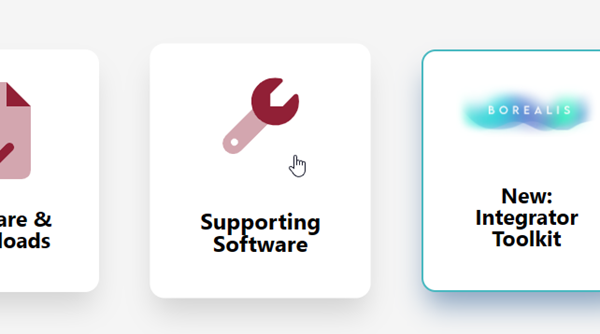
- Click on the Supporting software icon.
- The Download Area will appear on the right side of the screen.
- Click on the pcProxConfig option.
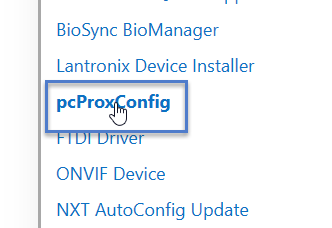
- The software will download to the host PC.
- Extract the contents of the zip file.
- Double-click the downloaded .MSI file.
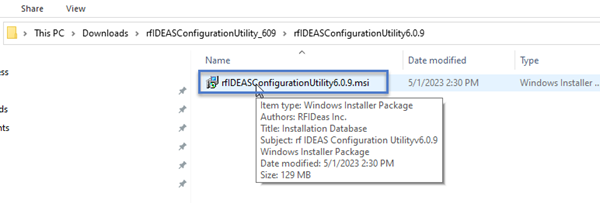
- The installer will initialize.
- Click NEXT on the welcome screen.
- Click NEXT on the software destination folder screen.
- Click INSTALL.
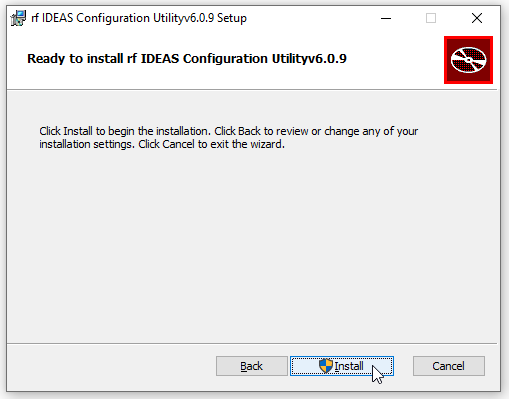
- The software will install in 10-15 seconds.
- Click FINISH.
3.0 Writing a Format to the Reader
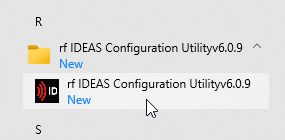
- From the Windows start menu, go to All Apps >> RF Ideas >> rf IDEAS Configuration Utilityv6.0.9
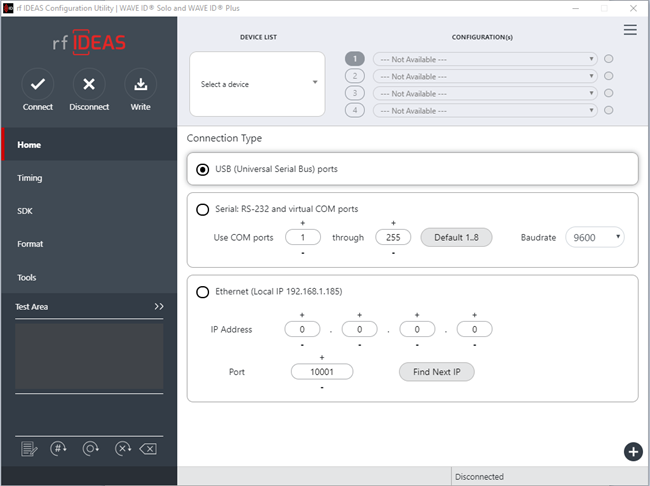
- Accept the terms of the utility license agreement and click the AGREE button.
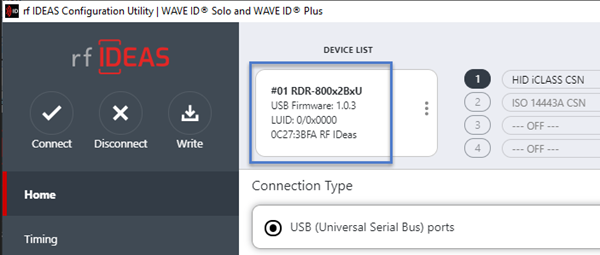
- The user interface will appear as below.
- Plug the pcProx Plus USB enrollment reader into an available USB port.
- The reader will beep once and its LED will be red.
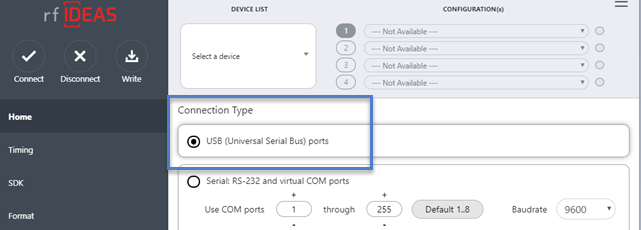
- Verify that Connection Type is set to USB.
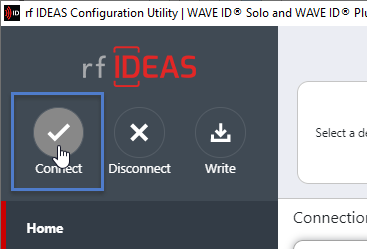
- Click the Connect button.
- No drivers are required for the reader, so it should appear in the Device list, as highlighted.
- Near the top of the pcProxConfig window you will see the configuration section.
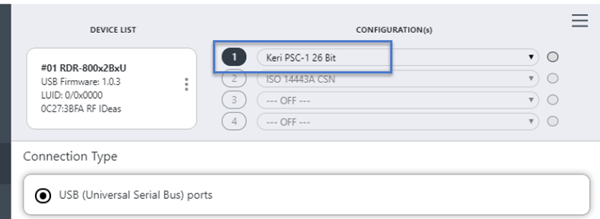
- From the credential formats drop-down list select the desired format.
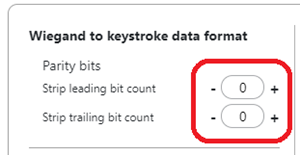
- With the required format select you will see the format settings.
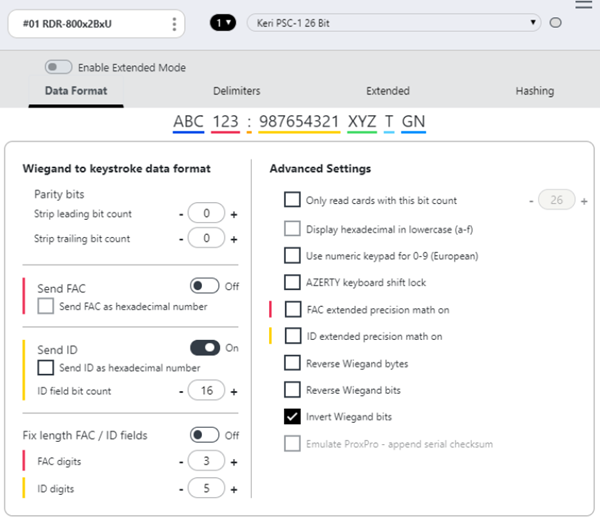
- You should then set the following settings to zero (to ensure the entire card number length is read).
- Click on the Write Active button to set the selected format as the active format for the USB enrollment reader.
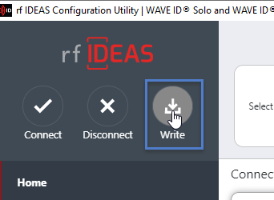
- The format will be written to the reader and will be active within just a few seconds.
4.0 Analyzing a new Card Format
You can use the Card Analyser to analyze a card format that is not on the list or if you are unsure of the programmed format.
- In the user interface, click on Tools (located on the left).
- Select Card Analyser.
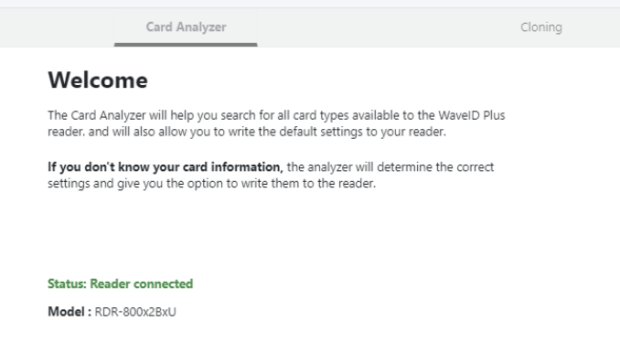
- Click the LEARN CARD button.
- Press the START SCAN button.
- Place the card onto the reader (as per the on-screen instructions).
- Click the AUTO-CONFIG button to configure the reader to read the card.
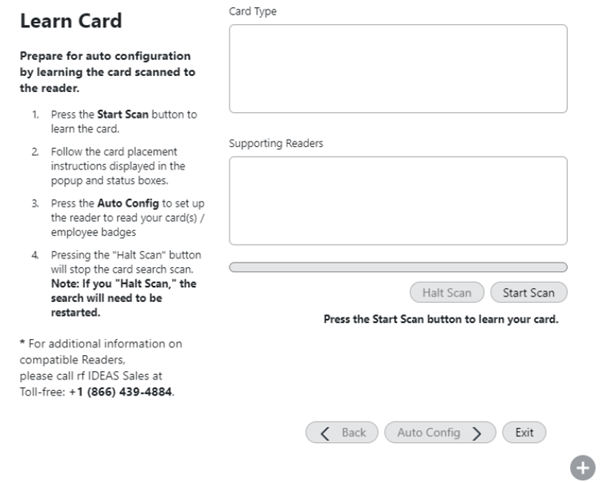
- The card type should be displayed as well as the USB reader types that are compatible with that card type.
5.0 Adding a 26-bit card (Such as an HID iClass Credential)
- Plug the USB reader into an available USB port at the workstation (It does not have to be the host workstation, it can be on a remote client)
- The USB reader will be automatically installed.
- Log into the Doors.NET software.
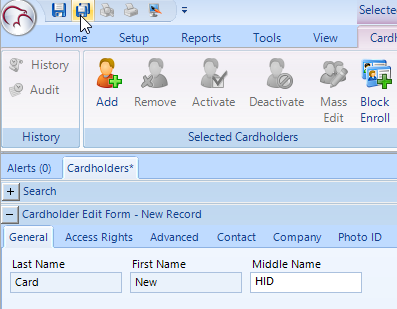
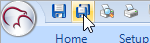
- Go to Home >> Cardholders.
- Click the Add icon.

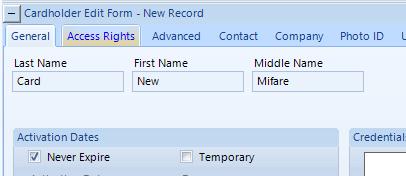
- Enter a first name and last name (optionally a middle name) then save the new record.
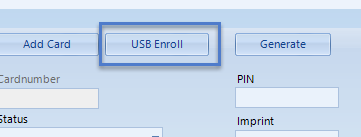
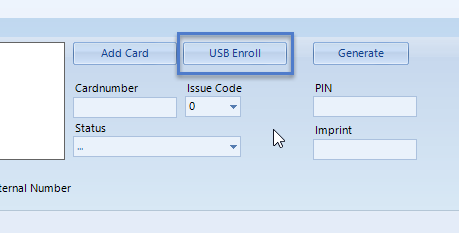
- If you look at the credential section of the cardholder record you will see a new button labelled USB Enroll.
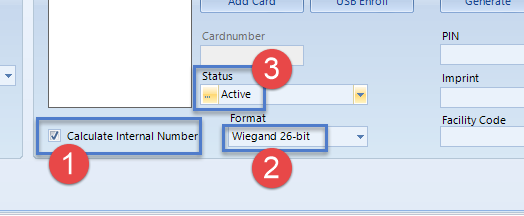
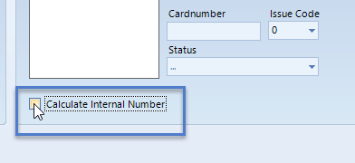
- Ensure Calculate Internal Number is checked (1).
- Ensure 26-bit Wiegand is selected (2).
- Ensure Status is set to Active (3).
- Hold the new card near to the USB Enrollment reader.
- The reader will beep and the LED should go green.
- Continue to hold the card near the reader and the LED will remain green.
- While the LED is green, press the USB Enroll button.
- The facility code, imprint and calculated internal number will all be displayed.
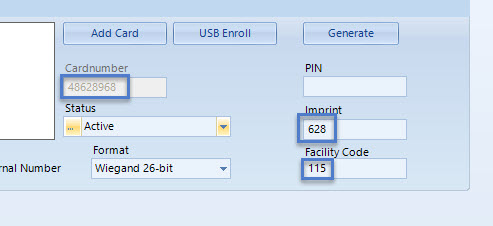
- Click the Add Card button and the card number will be added to the cardholder record.

- Click the save icon in the upper left (or Save All).
- Finally go to the Access Rights tab and assign the cardholder an access group. When you have saved the access group assignment, the new card will automatically be sent out to the controller network.
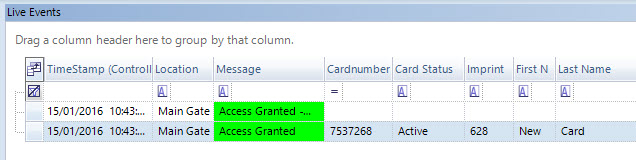
- Present a card to any reader that is included in the cardholder's access group and you should get access granted.
6.0 Enrolling a Mifare Card in Doors.NET
- From within Doors.NET go to Home >> Cardholders.
- Click the Add button.
- Enter a first name and last name.
- Then save
 .
.
- If the USB reader is still plugged into the host PC you should be seeing a USB Enroll button.
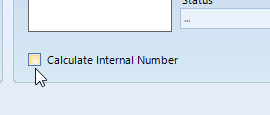
- Verify that Calculate Internal Number is NOT selected.
- Place the Mifare card on the USB reader.
- Click the USB Enroll button.
- The reader will beep and the LED will go green.
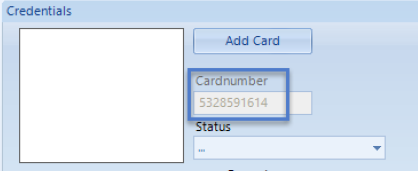
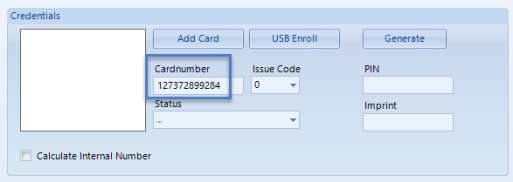
- The unique Mifare card serial number (CSN) will appear in the Cardnumber field.
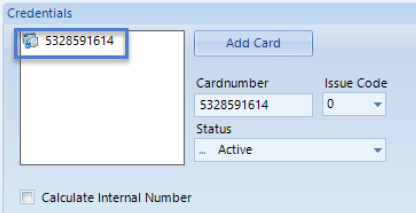
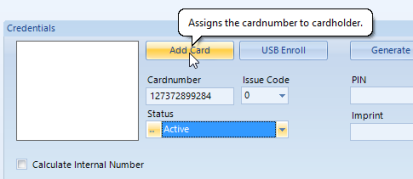
- Set the status to Active. It doesn't matter if you set the status before detecting the card as long as the status is set before you click the ADD CARD button.
- Click the Add Card button.
- The unique card number will then appear in the white Credentials window.
- This is the number that is processed by the controller.
Note: You can also manually add a number in the IMPRINT field to be able to identify the cred in the future (the imprint is the number that is printed on the credential). - You now have to go to the Access Rights tab to assign an access group to the cardholder.
- Once the access group has been assigned the active card will be sent out to the access control network.
7.0 Adding Non-26-bit Cards
If you do not know the programmed card format
One of the main benefits of the USB enrollment reader is to enroll 'unknown formats' - for example Mifare CSN (Card Serial Numbers) - These are usually 32 bits or 56 bits.
Note: PXL controllers will only read a maximum of 31 bits but because the unique card serial numbers are non-sequential there is next-to-no chance that the detected numbers will be duplicated.
Enrollment with PXL and NXT Controllers
- From Cardholders, click the Add button.
- Enter a first and last name (optionally a middle name).
- Deselect Calculate Internal Number.
- Present a hold the card near to the USB Enrollment reader.
- The reader will beep and the LED will go green.
- Press the USB Enroll button.
- The entire programmed card number will be read and will display in the Cardnumber field.
Note: You can also manually add a number in the IMPRINT field to be able to identify the cred in the future (the imprint is the number that is printed on the credential). - Set the status to active then click the Add Card button.
- Save the card record.
- Assign an access group.
- The card will automatically be sent out to the network.
Related Articles
Cardholder Enrollment - USB Enrollment Reader
USB Enrollment Reader Enrollment 1.0 Introduction Keri Part Number - RDR-ENR1 The RDR-EN1 is a multi-technology USB enrollment reader that is capable of reading both 125KHz proximity cards and 13.56MHz contactless cards and is compatible with the ...Doors.NET - End User's Guide
Doors.NET user guide for the end-users (attached).Doors.NET - End Users Guide
Doors.NET End Users Guide (attached)Cardholder Enrollment - Using Live Events
How Do I Perform Live Events Enrollment? 1.0 Introduction It is also possible to enroll cards/cardholders through the Live events grid. Note: This method only detects the card 'internal number' - the unique number that is processed by the controllers ...Cardholder Presentation Enrollment
How Do I Presentation Enroll Credentials In Doors.NET? 1.0 Introduction The Doors.NET software offers presentation enrollment functionality from any reader on the system. Presentation enrollment allows you to enroll a card from a card read (simply by ...