Professional Report Client Setup
1.0 Introduction
The system has a built-in report designer that allows you to create a new report from scratch or to modify any of the default reports. You can change fonts, add your own logo, change header and footer text, add a barcode field to the report, and change the database fields that are in the report. The designer is easy to use with the drag and drop interface, the property toolbox, and the standard text edit commands. The layout design of the report is saved as an XML file in the reports directory on the Application Server, but may also be saved externally to the hard drive, network, or removable media so that you can share your report design with another system.
2.0 Designing Reports
Once you have executed the report query, you can work with the designer to create a report layout template. The report designer supports adding labels, text boxes, logos, lines, etc. to create unique and professional reports for the end user.
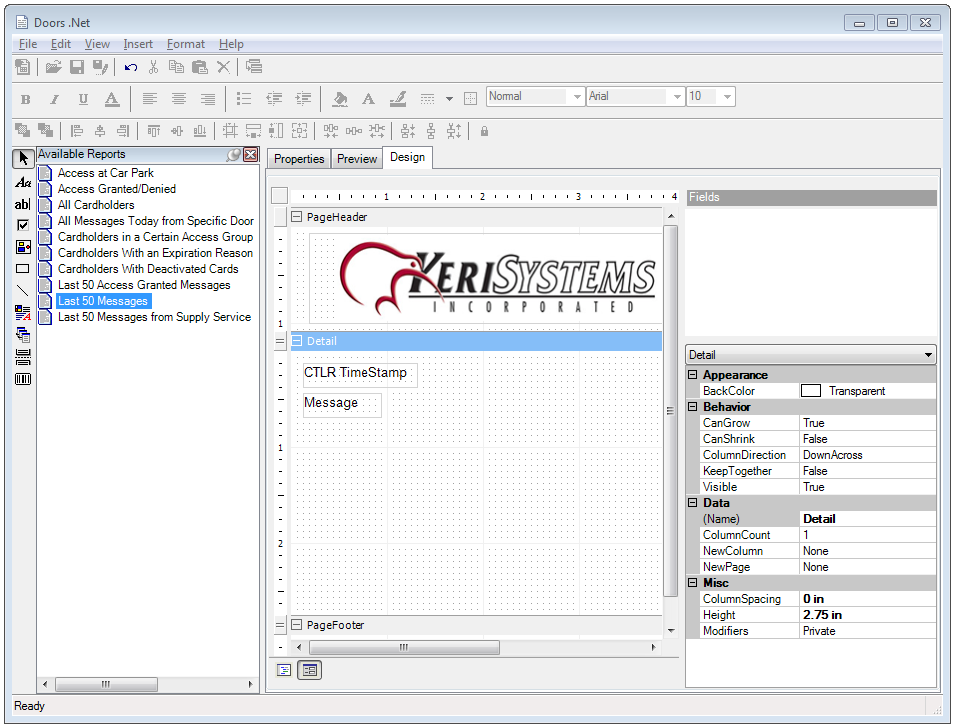
- From the design tab add or change the image in the PageHeader section.
- Click the Picture icon then draw a rectangle in PageHeader section.

- You now have to add labels to the header section. These will be static text that describes the data that will appear beneath it in the detail section (for example, date or cardholder).
- Click the label icon
 from the toolbar and drag a field into the header section beneath the logo.
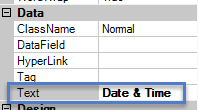
 - You can rename the labels from their properties (Data >> Text).
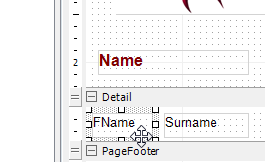
- You should then add textbox fields to the detail section. Drag the text boxes so they are located directly beneath the label text boxes.
- Click the textbox field icon
 in the toolbar.
 - In the properties of the textbox fields you have to locate Data >> DataField.
- Select from the drop-down list the specific data that you wish to be displayed. In this example I am looking for the date and time for the events so the correct selection is Timestamp_SPM (which is the controller's time stamp).
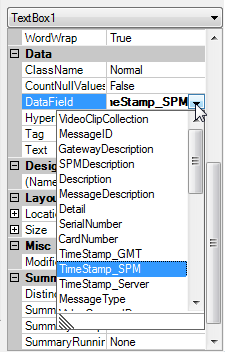
- As shown by the size of the list, there are multiple dynamic text fields that can be added to the reports.
- Follow the above steps for creating all the labels and textboxes that you want your report to include.
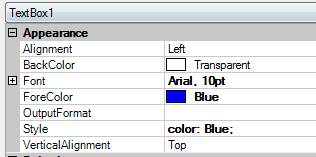
- When you highlight text you can change the formatting attributes via the toolbar or from the text properties grid.
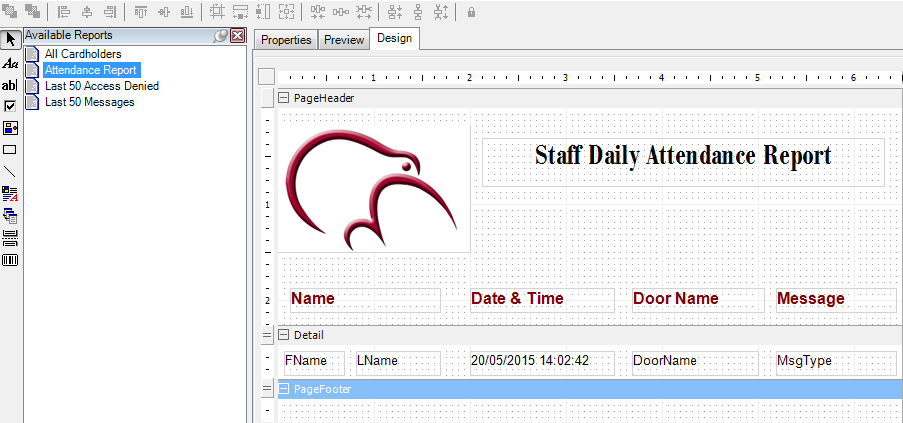
- When the report design is complete, the detail page should look something similar to this:
- Important Note: Don't forget to save your report/report settings.
- Return to the Properties page again and click the Execute Query button.

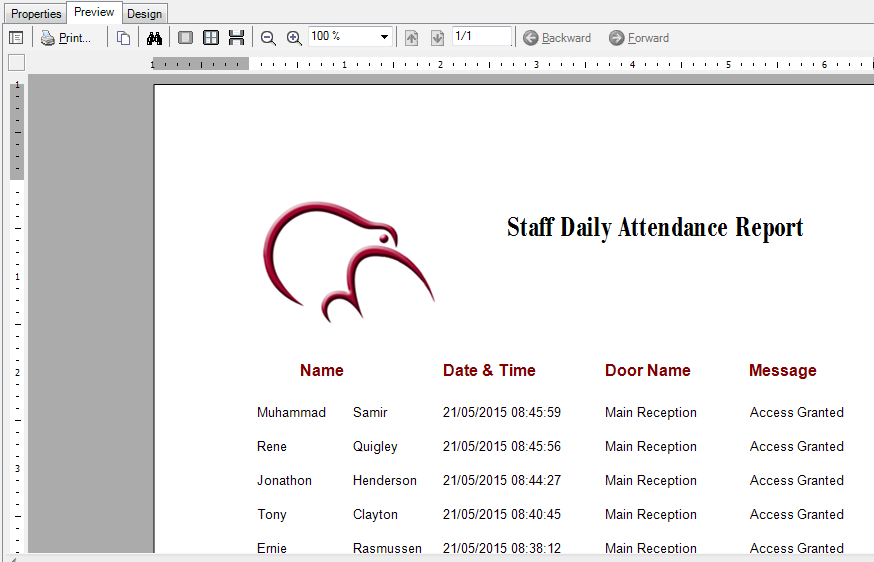
- Finally, click the Preview tab to go to the preview page and your report will have been generated.
Related Articles
Professional Report Client Standalone Document
Professional Report Client Standalone Document (attached)Automatically Export an Attendance Report
1.0 Introduction This setup example explains how to automatically export a report which lists the cardholders that have badged their cards at some point during the day. For this you need to have three Licensed Features enabled in your license: Host ...Reports - Automatically Export an Attendance Report
1.0 Introduction This setup example explains how to automatically export a report which lists the cardholders that have badged their cards at some point during the day. For this you need to have three Licensed Features enabled in your license: Host ...Global Linkage Setup - Standalone Document
Global Linkage Setup Guide - Standalone Document (attached)Professional Report Client Data Sheet
Attached.