Reports - Transactions
Effective from version 3.5.1.22, a series of improvements have been made to simplify and speed up the process of creating transaction reports. Most noticeably is the report wizard, which replaces the previous method of selecting your report criteria from a single page. In addition to this help file there are also useful on-screen instructions displayed in the wizard in blue text.
Transaction Reports Wizard
The transaction reports wizard is very easy to use. It is also very flexible and allows you to quickly define your search criteria, edit and then preview your reports and then save or export your generated reports.
- To run transaction reports in Doors.NET click on the Reports tab >> Transactions.
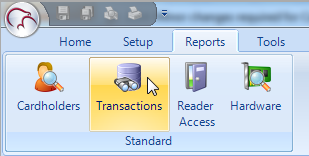
- The report wizard will immediately open.
- There are many different transaction report types available, allowing you to custom build your reports from scratch.
- If you run a report using the default selections, the generated report will consist of:
- The Past 7 Days
- All Cardholders
- All Hardware
- All Message Types - In short, it will give you every transaction generated by the system during the past 7 days, so on large systems with a lot of activity there probably will be several thousand records returned.
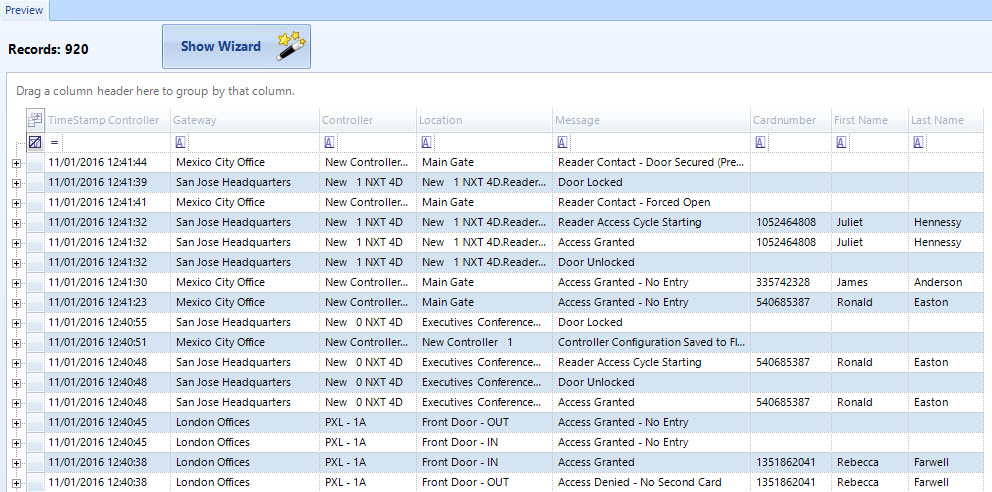
- A system transaction can be an event generated at a reader (access granted, access denied, door forced or door held, door opened/closed or remote temporary unlock) and there are also software-initiated events, such as: client login, gateway online/offline, operator request status or time schedule activated.
- The available report types are as follows:
- All Messages
- All Messages from Cardholder
- All Messages from Cardholder, MessageType
- All Messages from Control Point
- All Messages from Control Point, MessageType
- All Messages from Controller
- All Messages from Controller, Cardholder
- All Messages from Controller, Cardholder, MessageType
- All Messages from Controller, MessageType
- All Messages from Gateway
- All Messages from Gateway, Cardholder
- All Messages from Gateway, Cardholder, MessageType
- All Messages from Gateway, MessageType
- All Messages from MessageType
- All Messages from Monitor Point
- All Messages from Monitor Point, MessageType
- All Messages from Panel
- All Messages from Panel, MessageType
- All Messages from Reader
- All Messages from Reader, Cardholder
- All Messages from Reader, Cardholder, MessageType
- All Messages from Reader, MessageType
- All Messages from Search
- Last X Messages from Cardholder
- Last X Messages from Cardholder, MessageType
- Last X Messages from Control Point
- Last X Messages from Control Point, MessageType
- Last X Messages from Controller
- Last X Messages from Controller, Cardholder
- Last X Messages from Controller, Cardholder, MessageType
- Last X Messages from Controller, MessageType
- Last X Messages from Gateway
- Last X Messages from Gateway, Cardholder
- Last X Messages from Gateway, Cardholder, MessageType
- Last X Messages from MessageType
- Last X Messages from Monitor Point
- Last X Messages from Monitor Point, MessageType
- Last X Messages from Panel
- Last X Messages from Panel, MessageType
- Last X Messages from Reader
- Last X Messages from Reader, Cardholder
- Last X Messages from Reader, Cardholder, MessageType
- Last X Messages from Reader, MessageType
- Last X Messages from Search
Example Transaction Report
A typical report might be for a specific reader, a specific cardholder and for specific event types. In this example, a report will be run on the front door for a specific cardholder and the event type will be Access Granted during the past 24 hours.
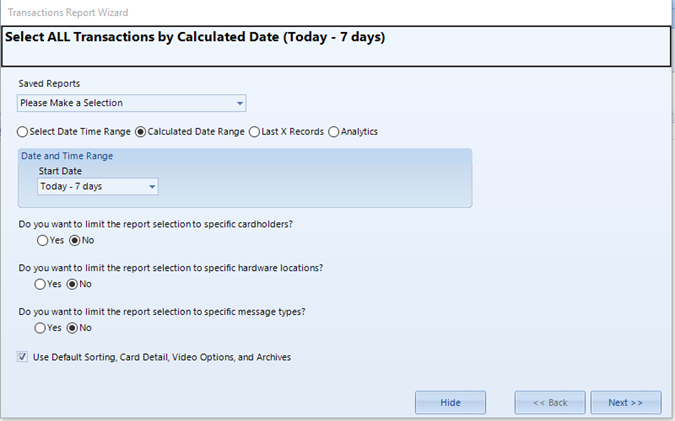
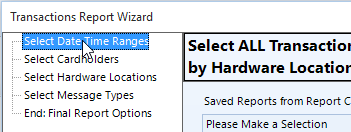
- From the first page of the report wizard, click on Select Date Time Range. You can then manually input a start date and time and an end date and time for the report.
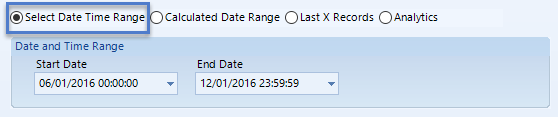
- As previously mentioned, by default the time range is the past 7 days, so the end date will be today's date and the start date will be 7 days previous.
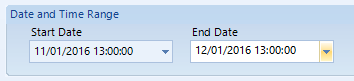
- Change the start date and end date to cover the past 24 hour time period.
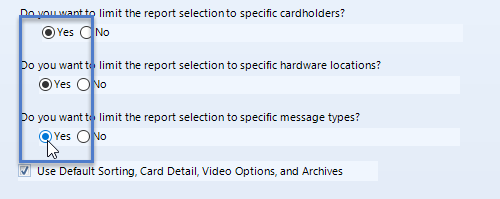
- Select Yes to limit the report to specific cardholders.
- Select Yes to limit the report to specific hardware locations.
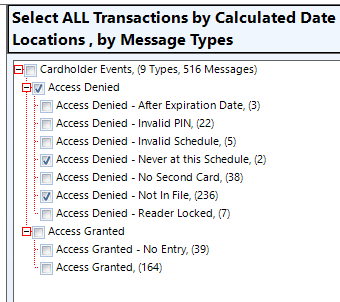
- Select Yes to limit the report to specific message types.
- Click the Next button to go to the cardholder selection screen.
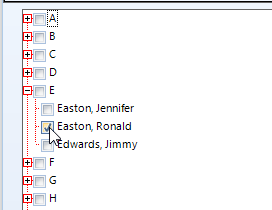
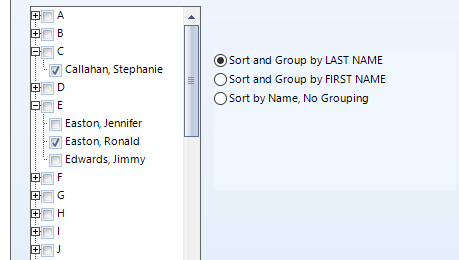
- By default, the cardholders are sorted alphabetically by last name, so click the expander to the left of the last name letter of the cardholder.
- Place a check mark against a specific cardholder.
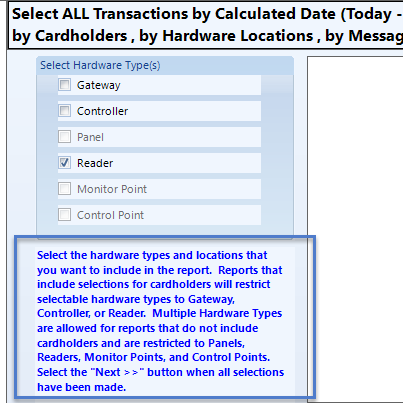
- Click the Next button to go to the hardware selection page.
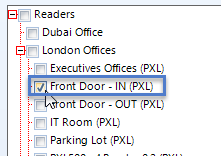
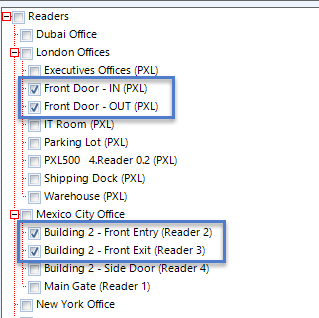
- Place a check mark against Reader. All readers on the system will then be displayed.
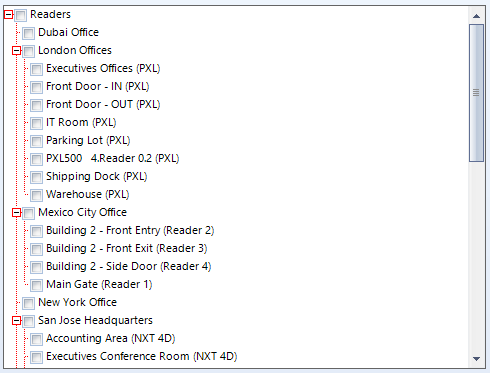
- Select the reader you wish to use for the report.
- Click Next for the available message types.
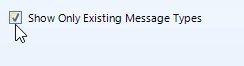
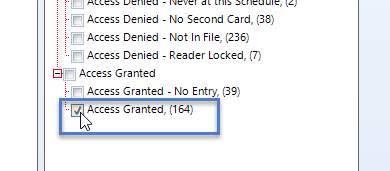
- The message selection screen will list, by default, all the messages in the database that exist for the selected hardware. Next to each message type is the count of how many messages of each type. If you deselect this option you will then see the entire list of all message types that can be generated by this hardware object.
- Select the Access Granted message type.
- Click the Next button again.
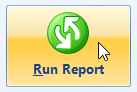
- On the final page of the report wizard you just have to click the green Run Report button.
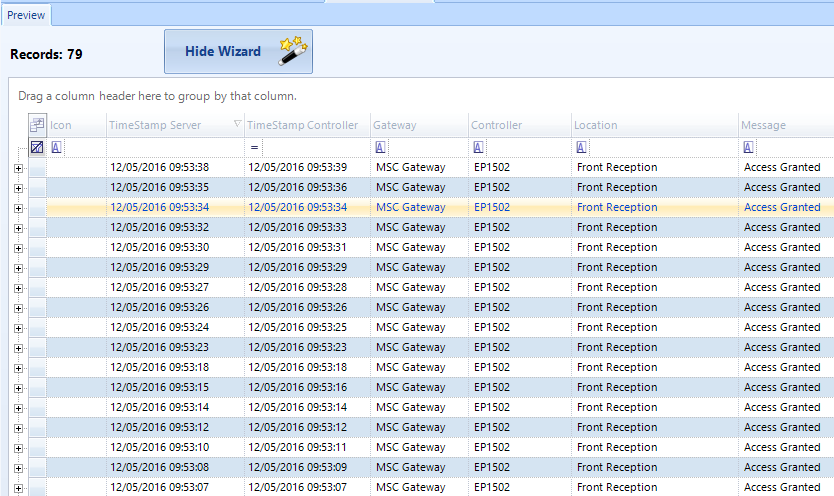
- You will then see the results of the report.

Note: You can run reports on multiple cardholders, on multiple hardware selections and for multiple event types.
Adjusting the Report Criteria
Once you have generated a report, it is very simple and easy to go back and adjust the search criteria.
Note: You can select multiple hardware types, multiple cardholders and multiple message types.
To adjust the criteria for a new report, you simply:
- Click on Select Date Time Ranges
- You will then be back on the first page of the report wizard.
- Specify a new time and date range if you wish to then click Next.
- Select a different cardholder, or additional cardholders, click Next.
- Select a different hardware object (different gateway, control, reader, input or output) or select additional hardware objects, click Next.
- Select a different message type or additional message types, click Next.
- Click the Run Report icon again and a new report will be created.

Including Video
By default the Report Wizard does not include video files, they have to be enabled.
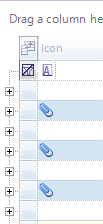
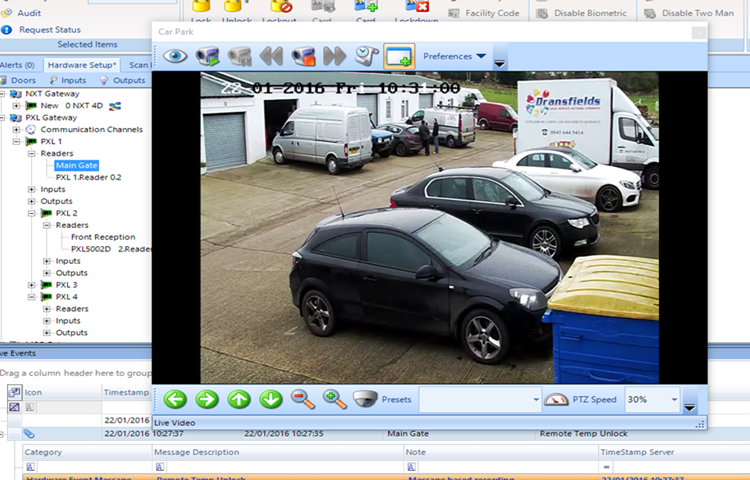
Some of the system transactions may have video clips associated with them. If there are cameras on the system and Event Video Recording has been setup you will need to 'Include Video'. If there is a video clip associated with the event it will have a small blue paperclip icon adjacent to the event in the 'Icon' column. You can also retrieve and view the recorded video file. A video window will appear when you click on the recorded video event. From there you can play, replay, pause, rewind, forward, etc.
Perform the following to retrieve recorded video clips.
- On the first page of the Transaction Report Wizard deselect 'Use Default Sorting, Card Detail, Video Options and Archives'.
- Click Next.
- From the Video Options drop-down list select Include Video.
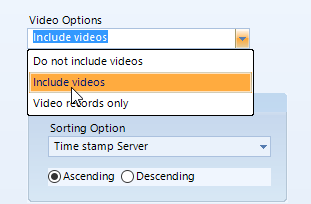
- Click the Next button again.
- Click the Run Report button and the report will appear behind the Transaction Report Wizard window.
- Close the Report Wizard window to view the report.
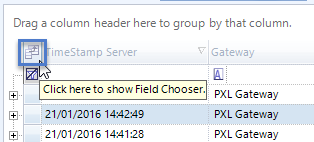
- The next step is to enable the Icon field in the report grid...
- ... Click on the Field Chooser icon.
- Scroll down the list of available fields and select Icon.
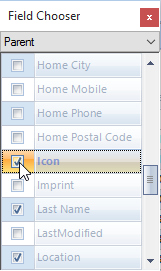
- If there are video clips associated with any of the events you will see a blue paper-click in the icon field.
- Click on the expander to the left of the paperclip icon.
- You will then see the video clip information.

- You can now double-click the video event. A video window will appear and will playback the recorded video stream.
Transaction Event Analytics
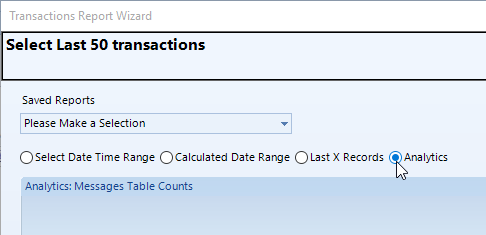
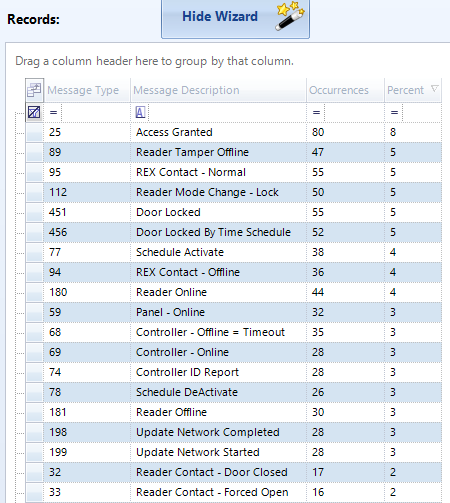
The Analytics option provides you with a full list of ALL the events that have been generated by the system. This can be useful for finding out if the system is generating a lot of specific event type, such as anti-passback violations, door held/ door forced, controller offline or access denied events. You can then use this information to recommend improved methods of best practice for users of the access control system.
- From the first screen of the Report Wizard place a checkmark against the Analytics selection.
- As this options generates all the system events you will notice that the cardholder, hardware and message type selections are all greyed-out.
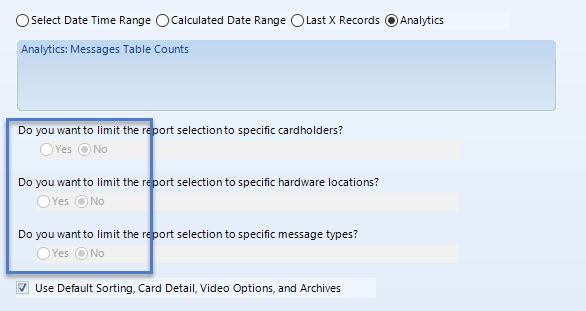
- Click Next.
- Click Run Report Button.
- The analytics report will then appear and will display all events which have been generated by the system, along with a percentage value indicating which event types occur most often.
Printing and Previewing
Once the report has been generated it can be printed directly from the software, or it can be previewed prior to printing.
- To print the report, simply click on the Print icon.
- A print window will appear.
- Select the destination printer.
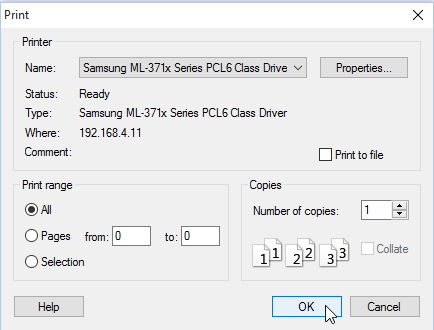
- Click OK.
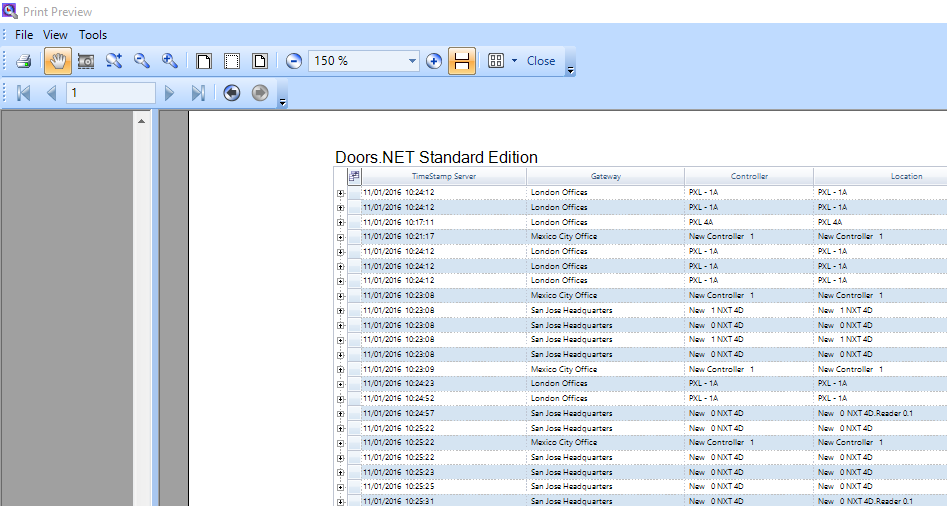
- To preview the report prior to printing, simply click on the Print Preview icon.
Exporting a Report
As well as printing you also have the option to export a report as an Excel, PDF or XPS document.
- Once you have clicked the Run Report icon click the drop-down arrow to the right of the Export button.
- You will see the 3 available export formats.
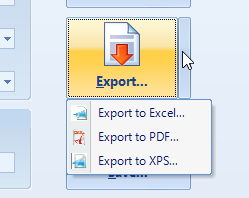
- Select the format you wish to use.
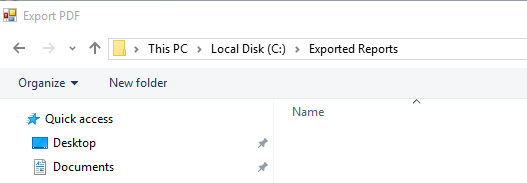
- Windows Explorer will immediately open a window so you can browse to a destination folder.
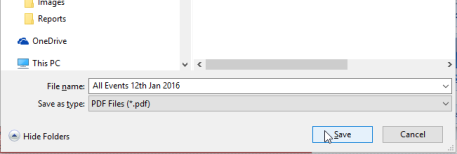
- Enter a name for the report, then click Save.
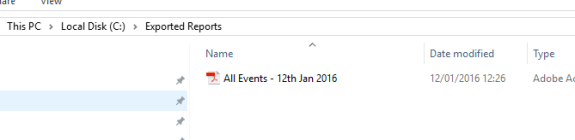
- Navigate to the destination folder where you will see you report as a single document.
Saving Reports
Once you have defined and run your report it can be easily saved and will then be available for selection in the saved reports drop down list.
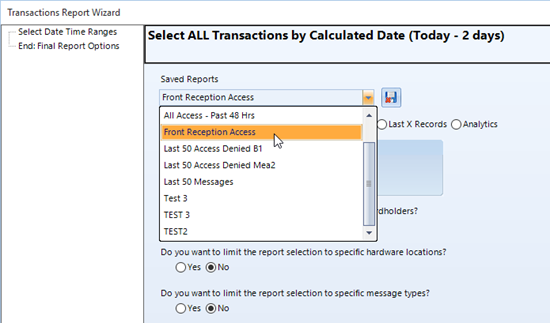
You can save any type of report that you create using the report wizard, for example, reports for: a certain group of people, a certain group of doors or spanning over a specific time period, specific event types or specific individuals.
- On the last screen of the report wizard, click the Run Report icon to generate your report.
- The report information will appear in the report records grid.
- In the Description field, enter a new description for the report.
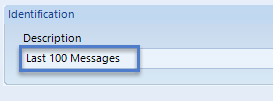
- Click the Save icon.

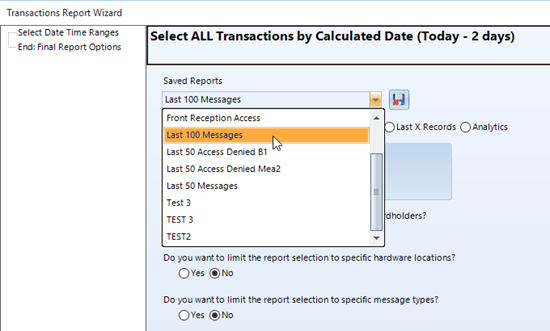
- The next time you run the report wizard the saved report will be available for selection.
Related Articles
Doors.NET Reports Overview
Reports Doors.NET software includes many different default report types which are included in the standard version of the software. Reports can be run at any time on Cardholders, Transactions, Reader Access and Hardware properties. When the ...Reports - Hardware
Hardware Reports allow you to run a report on the properties and configuration of all the hardware on the system. This includes: Controllers, Device Types, Doors, Inputs, Magstripe Library, Network Camera, Outputs, Panels and the Wiegand Library. To ...Reports - Cardholders
To run reports on Cardholders in the Doors.NET system click on the reports tab >> Cardholders. When the Cardholder reports page opens you will see the following window. You can retrieve cardholder-specific event information using a variety of search ...Event Management and Event Settings
Effective from Doors.NET v_3.5.1.22, historical event information is automatically deleted on a First-In-First-Out (FIFO) basis. Prior to this version, historical event information would be automatically transferred to separate archive databases, but ...Reports - Automatically Export an Attendance Report
1.0 Introduction This setup example explains how to automatically export a report which lists the cardholders that have badged their cards at some point during the day. For this you need to have three Licensed Features enabled in your license: Host ...