Setup Elevator Control Access Groups
1.0 Introduction
When using Elevator Control with MSC or SCP hardware you have to setup Elevator Access Groups. These are then assigned to a general access group which can then be assigned to a cardholder.
2.0 Create and Assign Elevator Access Groups
- Next is to create the access groups; identifying to which floors the cardholders will be allowed access. This Application Note will describe the process for creating an Elevator Group for Floors 1 to 8 following the Always time schedule.
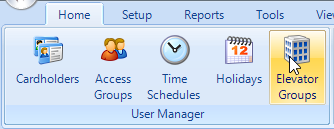
- Click the Home tab and then click Elevator Groups.
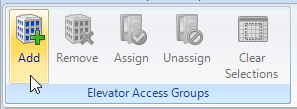
- Click the Add icon on the ribbon.
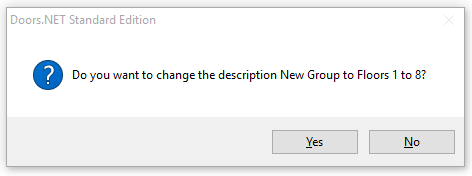
- Change the description to something appropriate to your site. Press Enter and click Yes to confirm the new description.
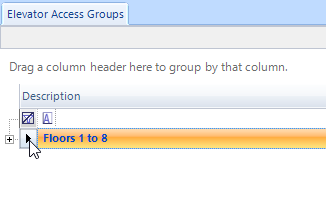
- Highlight the new group.
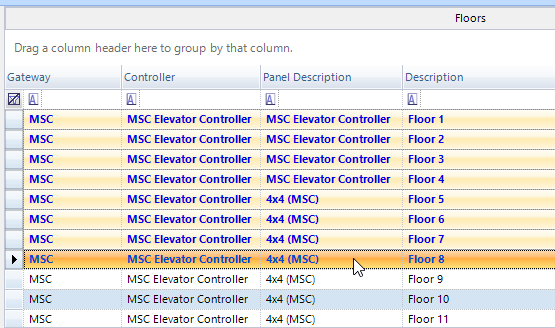
- In the Floors list in the properties section, highlight the floors you wish to add. Click on the first floor and then drag the mouse down to the last selection, or select the first, press the shift key, and then select the last.
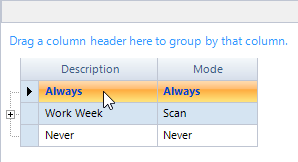
- Highlight a time schedule to assign to the group.
- When all 3 elements that make up the access group are highlighted, the Assign button on the ribbon becomes active.
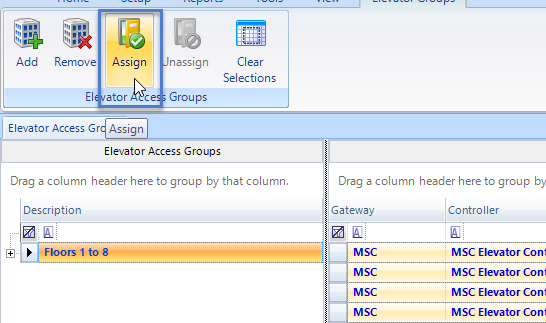
- Click Assign to create the elevator access group.
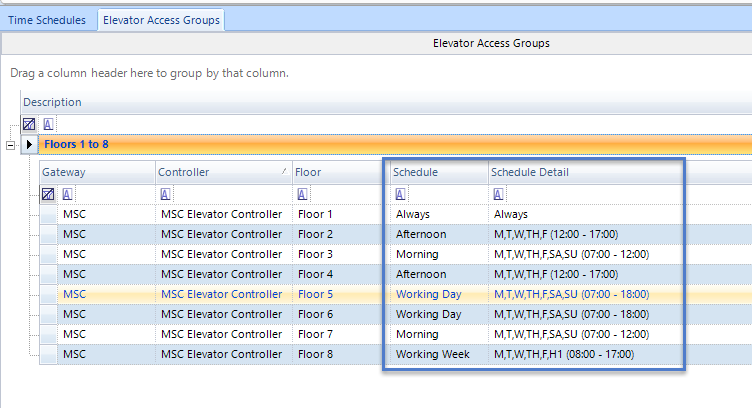
- If a cardholder requires access to various floors at different times of day then these floors and time schedules would all need to be added to the same elevator access group. This is even the case if the floors exist in different facilities. As you can see in the following image, multiple floors have been defined and each floor follows a certain time schedule. If you then need to restrict the time when access is allowed to a certain floor you would then merely need to adjust the time schedule itself.
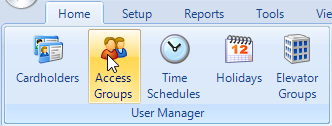
- A cardholder cannot directly be assigned an 'elevator access group', so this group will need to be added to the general system access groups. From the Home tab click Access Groups.
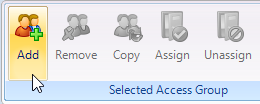
- Click the Add button.
- Give the new group an appropriate description and save it.
- Select the new Elevator Access Group.
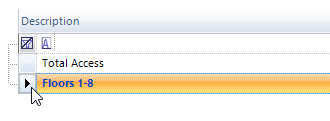
- Select the elevator reader.

- Select the Elevator Access Group. You do NOT need to highlight a time schedule on this page because it has already been defined in the Elevator Access Group setup page.
- Click the Assign button to complete the elevator access group setup.

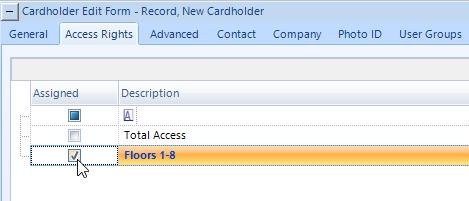
- Now you can assign elevator access right to cardholders. Open a cardholder record (Home >> Cardholders). Click on the Access Rights tab.
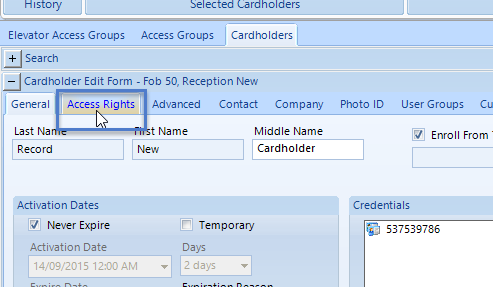
- Check the new Elevator Access Group. Then click Save.

- Verify the elevator control configuration. Present the card to the elevator cab reader. You should get access granted (indicated by a green LED on the reader)
- If you are using No Floor Select then all relays on the controller will activate, plus the relays on the 4x4 module(s).
- If you are using With Floor Select you will have to present your card and then press one of the floor select buttons. The system will then know what floor you have requested to go to. This information will be displayed in live events (in the detail column) and will be available for reporting purposes at a later time.
Related Articles
Elevator Control - Scheduled Override of Floors
1.0 Introduction In normal elevator control operating mode access to controlled floors will require the presentation of an access credential to the reader in the elevator cab. Occupancy requirements at some facilities may require that some floors ...Elevator Control with NXT-MSC and 4x4 Modules
MSC Elevator Control Setup Guide Using 4x4 Modules IMPORTANT NOTE: "Before beginning hardware installation and setup, please read this document completely as there may be information related to your specific application that appears in different ...Setup Access Groups
1.0 Introduction Access groups are setup in Doors.NET via Home >> Access Groups. There are two default access groups; Never and Total Access. When a controller is added to the system it's doors are automatically added to the Total access group (with ...Edit Access Groups
1.0 Introduction Any alterations to existing access groups can be made very quickly and easily on the access groups page. Note: It is not possible to adjust an assigned time schedule for a reader. You must remove the reader and the schedule and then ...Elevator Control Data Sheet
Elevator Control Data Sheet (attached)