Setup Holidays in Visual Doors
Create a New Holiday
- Click on the Holidays tile located on the home screen.
- Click the Add icon.

- Give the Holiday a new name.
- Set the holiday to being enabled.
- Set the type for the holiday (default is Type 1) - If you want all your holidays to make the same time schedule(s) inactive then set them all as Type 1.
Holidays TypesThe Holiday Types option is a selection for different holiday types and the number of available holiday types is dependent upon the hardware type you are using.Holiday types are used to categorize holidays into different groups and allow different weekly schedules intervals to be active on those groups. For example, you may define a Holiday Type 1 as a mandatory company holiday, Holiday Type 2 as an optional company holiday and Holiday Type 3 as holidays which always fall on the same day - such as Christmas Eve, Christmas Day and New Years Day.By using the holiday types, you can immediately deactivate all access levels on all holiday dates which are Type 1. You can selectively enable certain cardholder access on any holiday that is a type 2 while allowing all Type 3 holidays to remain active.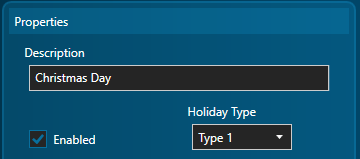
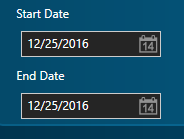
- Set the Start Date and End Date (set the same date for both if the holiday is just for one day).
- Save the new holiday.