Telepathy - Adding Map Client Diagrams
The first step in the setup process is to add your images to the Telepathy client. They can then become map diagrams. If you have multiple buildings located in different parts of a country, county, state, etc - you will also need to add an image representing that geographical area. This next example explains how to add the relevant map images for two buildings located in different parts of California - each with 2 floor plan images.
Adding Overview, Building and Floor Images
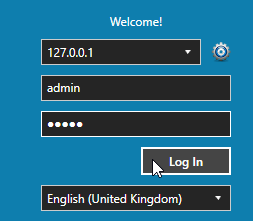
- Log into the Telepathy Map Client via the client icon.

- The default user name and password are both admin.
- The home screen will open. Click on the Map Diagrams tile.
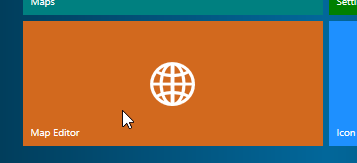
- The Map Diagram screen will open.
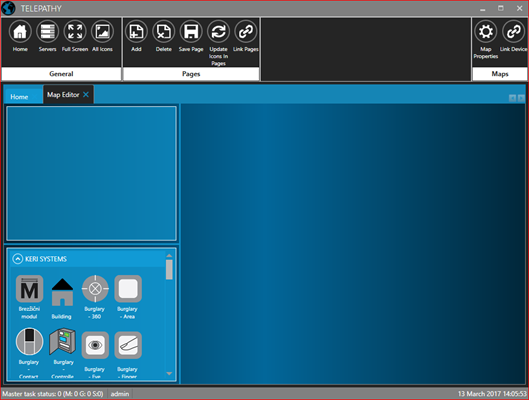
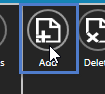
- Click the Add icon to add your first map image.
NOTE: If you have just one building, or a campus to monitor, then this first image would be an exterior view of the building/campus. If you have multiple buildings in separate geographical locations, then this first image will be of a country or state, for example. - Click on New Page.
- A default image will appear.
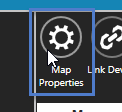
- Click on the Map Properties icon in the upper-right.
- Navigate to the location on your PC where your map images have been saved.
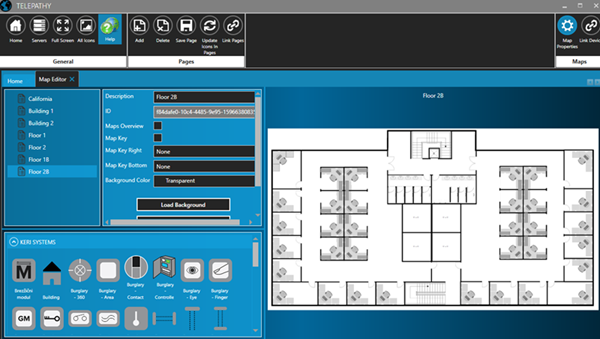
- Enter a new description for the first image.
- Click the Load Background button and navigate to the location on the PC where your map images are saved.
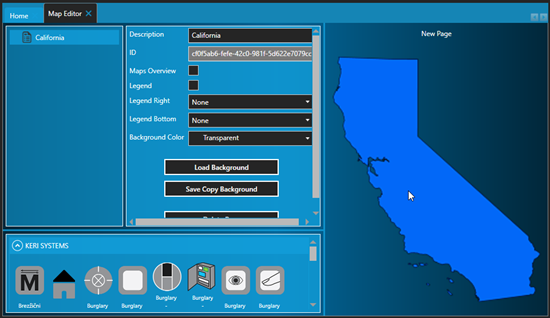
- Click the Save Page icon.
- Click the 'Add' again.
- Select 'New Page', click ' Map Properties' and enter a new name for the first building.
- Click 'Load Background' and navigate to the location on the PC where the building 1 image is stored.
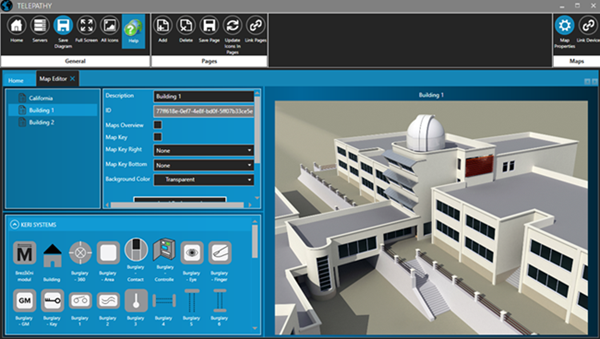
- Click 'Save Page'.
- Click the 'Add' icon again.
- Select 'New Page' and enter a new name for the second building.
- Click 'Load Background' and navigate to the location on the PC where the building 2 image is stored.
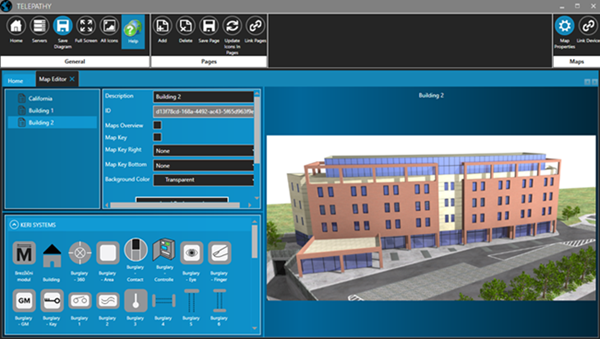
- Click the 'Save' icon.
- You now have 2 building images added to the Map Client.
- Repeat steps 13-20 to select and add floor plan images for each of the buildings. For this example we are just adding 2 floors for each of the buildings.
Related Articles
Telepathy - Adding Sensor Icons
The sensor icons are the dynamic images that will represent your doors and other security access points, or inputs/outputs. They are dragged onto your floor map diagrams to represent their physical locations within your facility. Sensor icons are ...Telepathy - Linking Map Diagrams
Once your building images and floor plan images have been added to the Telepathy client, they need to be linked together. In this setup example, we have three levels of images that need to be linked together. The map of California will be linked to ...Telepathy - Map Editor
For setting up a typical system, the first place to go to is the Map Editor. But before setting up your Telepathy map client, you should have images of your building(s) and your building floor plans, which you will import. Once imported into ...Telepathy Installation
The Telepathy map client is installed by performing a 'custom installation' of Doors.NET. Then ensure Map Client and Map Editor is selected from the list of available clients to install. Following installation, you will need to activate your ...Telepathy - Monitoring your Facility
Once you have linked your map diagrams together and then linked your hardware to the diagrams you will then be ready to monitor your access control system in real-time. General Monitoring From the home screen, click on the Maps tile. If your ...