Telepathy - Enable the Hardware
To display the available hardware (controllers, readers, inputs and outputs) the controllers must first be enabled within the Doors.NET software. This is a security enhancement because otherwise the Telepathy client would immediately give the user the ability to unlock any door on the system.
You must therefore first log into Doors.NET client as an administrator and then enable the controllers.
The following steps explain how to enable all hardware for display in Visual Doors.
- Log into the standard Doors.NET client (the default user name and password are both admin).
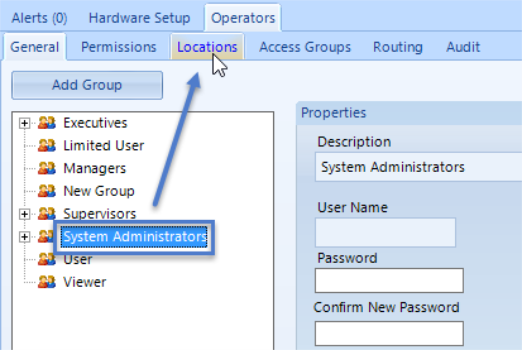
- Go to Setup >> Operators.
- Select System Administrators.
- Then go to Locations.
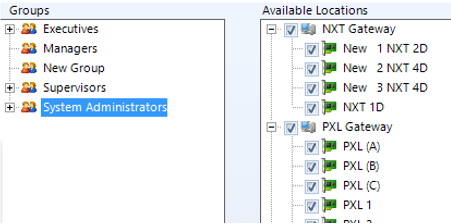
- Expand the hardware gateways and you will see a list of all controllers on the system.
- Place a check mark against all the controllers you wish to make available in the Telepathy client.
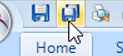
- Save the system admin user settings via the save/save all icons in the top-left of the client.
- You can now return to or re-open the Telepathy client because the hardware will now be available to select.
Related Articles
Telepathy - Map Editor
For setting up a typical system, the first place to go to is the Map Editor. But before setting up your Telepathy map client, you should have images of your building(s) and your building floor plans, which you will import. Once imported into ...Telepathy - Operate the Hardware
This section assumes you have already followed the appropriate instructions for adding and linking hardware to your map diagrams. Controlling Outputs From the Telepathy home screen, click on the Maps icon. Right-click on a sensor icon that represents ...Telepathy Introduction
Introduction to Telepathy The Telepathy map client provides you with a graphical representation of your integrated security system. Know when a door has been held or forced open. Know if an input on the system goes active (motion detection, fire ...Telepathy - Link the Hardware
Once the hardware has been enabled in the Doors.NET software it becomes available to select in Visual Doors. Open one of your floor plan diagrams. Click the Link Device icon in the upper right-corner. You will see a list of all the hardware that has ...Telepathy - Event History
You can very easily retrieve a list of all of the events history of a hardware object, for example, a door. From the Telepathy home screen, click on the Maps tile. Right click a sensor icon located on one of the floor maps. Select History.