Presentation Enrollment in Visual Doors
1.0 Set a Reader as an Enrollment Reader
- From the home screen click on the Doors tile.
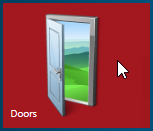
- All the doors on the system will be displayed on the left.
- Locate and select the door you will use for enrollment.
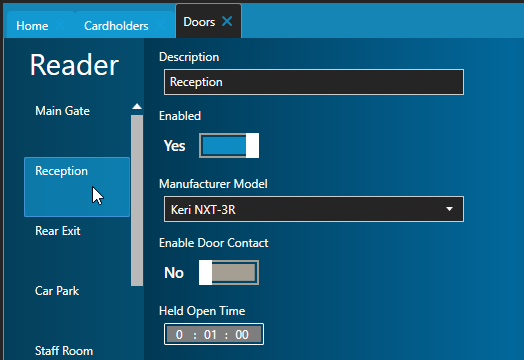
- The door setting will be displayed on the right.
- Locate the Enrollment Reader option and set it to YES.
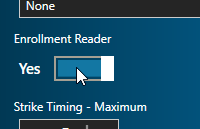
- Click save.
2.0 Presentation Enroll the new Cardholder
- From the home screen, click on the cardholders tile.
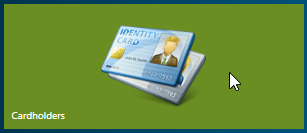
- Click the Add icon.

- Enter a first name and last name (middle name is optional).
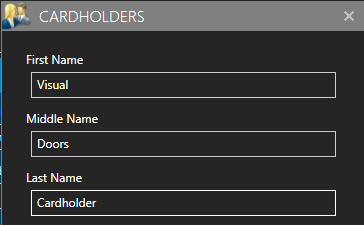
- Click the ADD button and the new card record will be created.
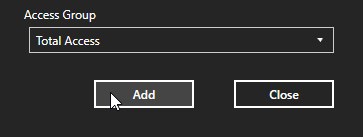
- Click the CLOSE button and you will see the new record listed on the left.
- Select the new record.
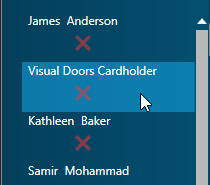
- The cardholder properties will appear on the right.
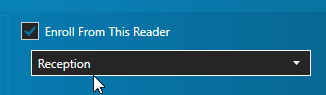
- Place a check mark in the option: "Enroll From This Reader".
- Select the enrollment reader from the list.
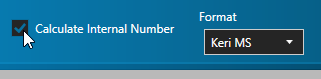
- Place a check mark in the option: "Calculate Internal Number".
- Select the correct card format from the Format list.
- Present the card at the enrollment reader.
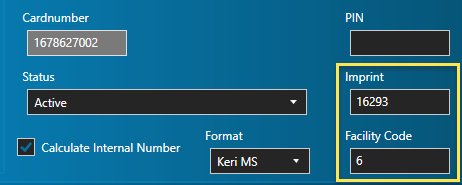
- The Facility Code and Imprint will be detected and displayed (or just the Imprint if using NXT cards) - you will also see the unique 'cardnumber'.
- Click the SAVE/ADD Card button and the unique card number will be assigned.
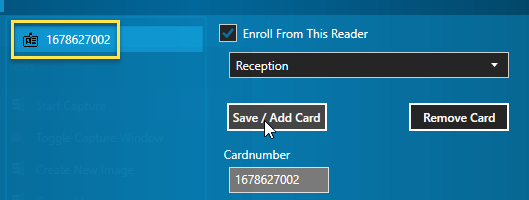
- The card record (and cardnumber) will be sent out to the access control network so you will be able to gain access with the card almost immediately.