Doors.NET - License Activation - Offline
Activating Doors.NET Without an Internet Connection
You can activate Doors.NET via e-mail if you do not have an active internet connection, or if the connection is being blocked by a firewall or security setting.
This is done by e-mailing the license file to Keri, receiving an updated file with a digital signature, and then overwriting the original with the new. This process typically takes one business day to complete.
- Following installation of the software you will be prompted to run the License Manager.
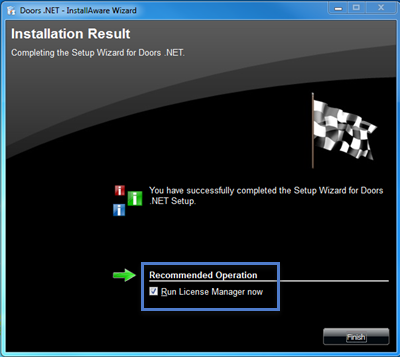
- Click the Finish button and the License Activation Wizard will open.
- Click Next on the welcome page.
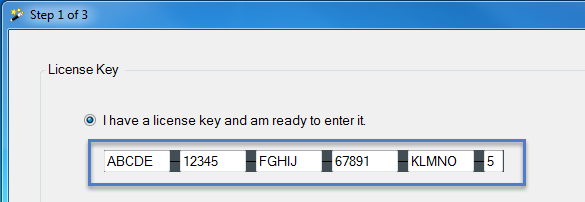
- Step 1 of 3 - Enter your 26-character Doors.NET license key. Then click Next.
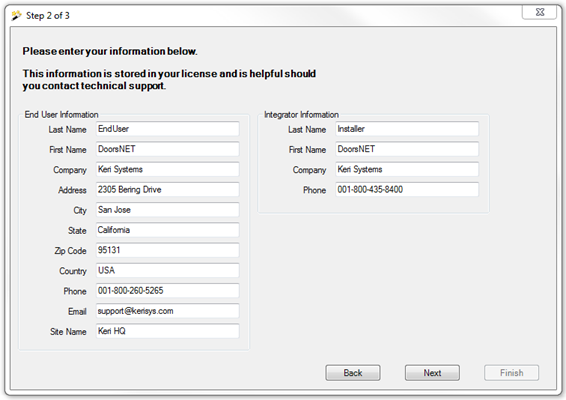
- Step 2 of 3 - Enter your customer and installer details, then Next again.
- Step 3 of 3 - Review the entered license key then click the Finish button.
- If there is no internet connection or a restricted internet connection you will see the following message:
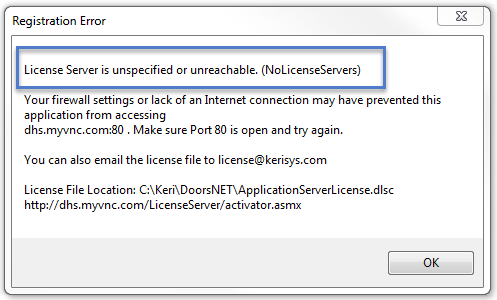
- Click OK and the License Manager will immediately open. There will be another message which will state the computer is not licensed.
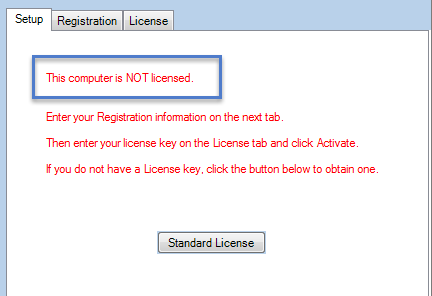
- Ensure Application Server is highlighted on the left-hand side of the License Manager.
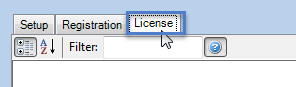
- Click on the License tab.
- At the bottom of the license page you will see the license key that you entered in step 1 of the License Wizard.
- Tick the Offline Registration option. Then click the Activate button.

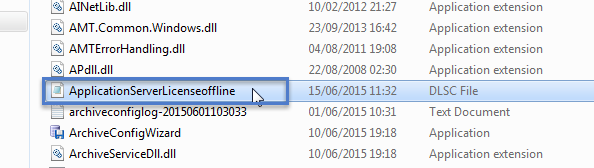
- The offline license key will be immediately created and a notification will appear informing you of where this file can be found.
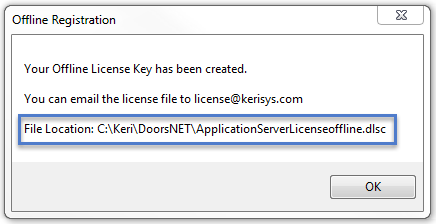
- Email a copy of this file to license@kerisys.com for US customers, or to tech-support@kerisystems.co.uk for customer in the UK and outside of the US.
- Close the License Manager.
- Within 1 business day you should receive your activated license file as an e-mail attachment, it will be renamed ApplicationServerLicense.dlsc.
- Copy the received ApplicationServerLicense.dlsc file into the C:\Keri\DoorsNET\ directory.

- Open the License Manager again (via Start Menu >> All Programs >> DoorsNET >> License Manager.
- Click Yes to the prompt that informs you of the licensed services that need to be installed.
- Once the Doors.NET Windows Services have been installed you will be ready to setup your hardware gateway(s).
Related Articles
Doors.NET - License Activation - Online
1.0 Introduction Following installation of the software the system will need to be activated. Activation is performed using the License Manager Utility and is most easily done using an active, unrestricted Internet connection. The License Manager ...Doors.NET FAQs
Doors.NET Software Questions Where can I download the latest version of the Doors.NET software? Note: To download the latest version of Doors.NET from the Kerisys.com website you will need to first register an account and then log into the site with ...Doors.NET - Software Overview
Application Server The Application Server is the heart of the Doors.NET system. It is the only component that communicates directly with the database engine. It is an asynchronous, TCP socket server that accepts connections from both the gateway and ...Doors.NET - End User's Guide
Doors.NET user guide for the end-users (attached).Doors.NET - End Users Guide
Doors.NET End Users Guide (attached)