NXT Controller Setup in Visual Doors
NXT Controller Setup
Manually Add NXT Controllers
NXT controllers are typically added to the system using Auto Config. However, there are some rare situations where the controller will have already been programmed with its IP address and simply needs to be manually added.
Note: To manually add an NXT controller you will need to know the controller's programmed IP address.
- Ensure the NXT controller is powered on and connected to the network.
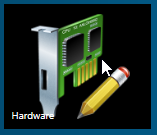
- From the home screen click on the Hardware tile.
- If you have multiple, different hardware gateways ensure the NXT gateway is selected.
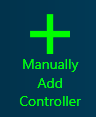
- Click the Manually Add Controller icon.
- Add a description for the new controller.
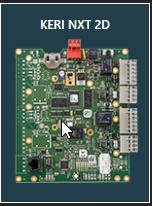
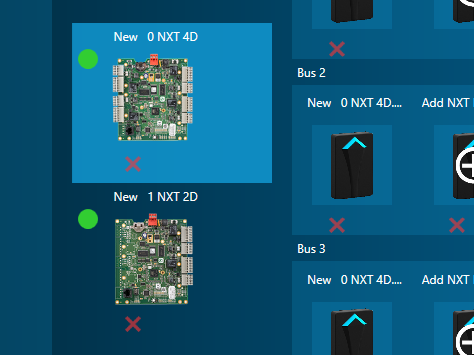
- Click on the icon for the NXT controller type you are adding (2 door or 4 door).
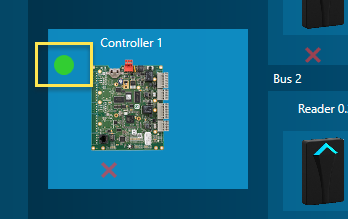
- The new NXT controller will be immediately added to the hardware screen.
- Enter the controller's programmed IP address.
- Click outside of the IP address field, then click the green save icon.

- The red dot next to the controller should go green to indicate the controller is now online.
Auto Config NXT Controllers
The following section explains how to add NXT controllers using the Auto Config feature. Auto Config polls the local subnet and NXT gateway and automatically returns a list of all NXT controllers it finds.
- Ensure all the NXT controllers are connected to the network and are powered on.
- From the home screen, click the Hardware tile.
- If you have multiple, different controller types, ensure the NXT gateway is selected.
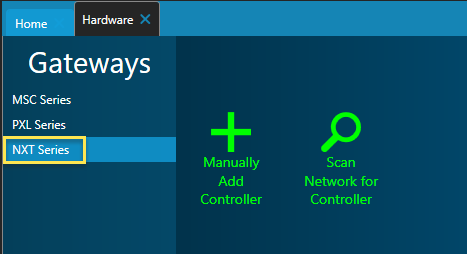
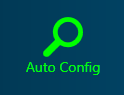
- Click on the Auto Config icon and the local network will be searched for NXT controllers.
- The detected controllers will be listed in the Available Controllers section.
- You can use Auto Config to assign IP addresses to multiple NXT controllers.
- In the Starting IP Address field enter the IP address you wish to assign to the first controller in the list.
- In the Ending IP Address field enter the IP address you wish to assign to the last controller in the list. The controllers listed in between will also receive their IP addresses so ensure the range is large enough to accommodate all the controllers you have detected.
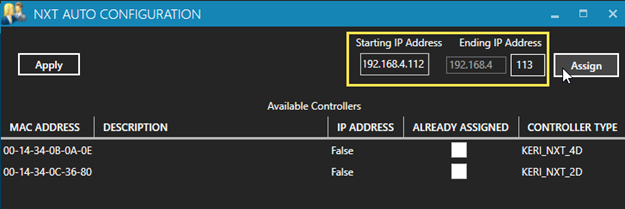
- Click the ASSIGN button to assign the IP addresses to the NXT controllers.
- Click the APPLY button.
- Within a few seconds you should see the Auto Config Complete message.
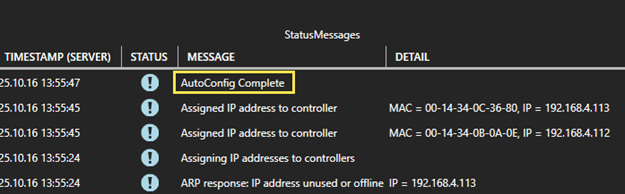
- Close the Auto Config window. The new NXT controllers should be listed on the hardware screen and showing as online.
Related Articles
NXT-MSC Controller Setup in Visual Doors
NXT-MSC Controller Setup Manually Add NXT-MSC Controllers NXT Mercury-Powered (MSC) controllers are typically added to the system using the Scan feature. However, there are some rare situations where the controller will have already been programmed ...Visual Doors Data Sheet
Visual Doors Data Sheet (attached)Visual Doors - Full Reference
Visual Doors - Full Reference Guide - P/N: 01691-001 - Rev B (attached)Controller Settings in Visual Doors
Controller Settings PXL Controller Settings Description - Enter a description for the controller, for example, where the controller is located within the facility. Enabled - Allows to you quickly toggle between enabling and disabling the controller. ...Setup Time Schedules in Visual Doors
Time schedules are assigned to access groups to determine the hours in which cardholders are able to gain access. They are also used in Auto Unlock Schedules (AUL). AUL schedules are assigned to doors to determine when the door should automatically ...