Reports - Automatically Export an Attendance Report
1.0 Introduction
This setup example explains how to automatically export a report which lists the cardholders that have badged their cards at some point during the day. For this you need to have three Licensed Features enabled in your license:
2.0 Create the Report you Wish to Export
- The first thing to do is to use the Professional Report Client to create a custom report for the access granted messages at a certain door during the past day.
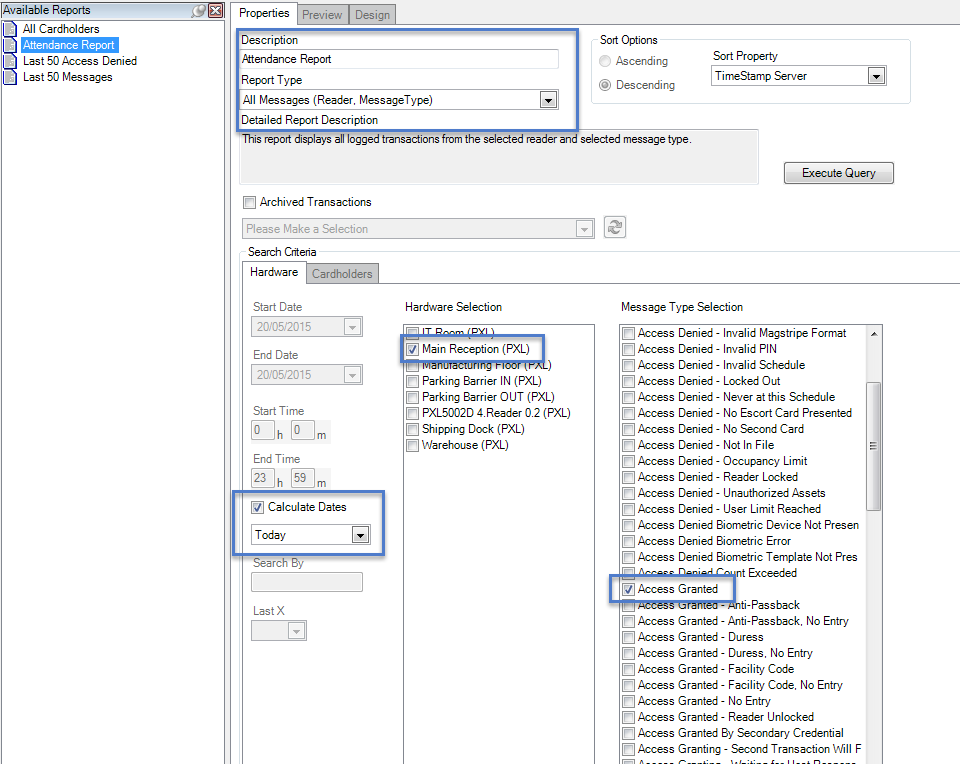
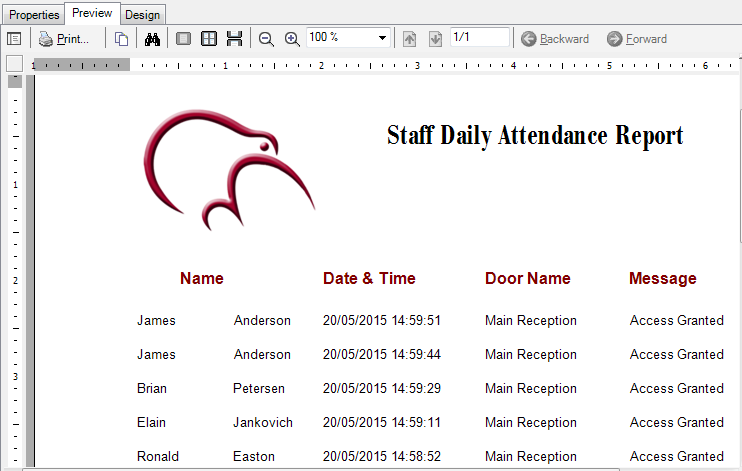
- Execute, then preview the report and ensure it looks correct.
3.0 Create a Global Linkage Macro
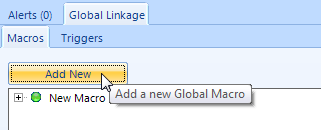
- From the Home tab, click on Global Linkage.
- On the Macros tab click the Add New button.
- Highlight the New Macro name and give it a new description.
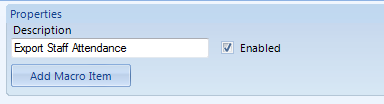
- Click the Add Macro Item button.
- Click on the new item.
- Give the new item a description as well.
- From Macro Item Type select Export Report.
- From Report Name select the specific report that you recently created.
- From the Output Format select the file format you wish the report to be outputted as.
- In the Report Export Filename enter a default name for the report.
- In the To: field enter an e-mail address for the recipient of the report.
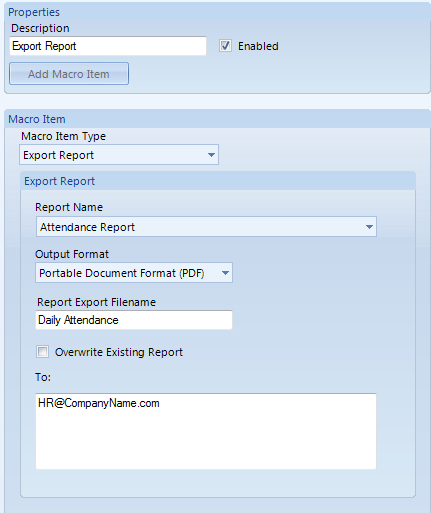
- Once complete, save your settings.
4.0 Enter your e-mail into Global Linkage Settings
- From the Start Menu, go to All Programs >> Doors.NET >> click on License Manager.
- From within the License Manager, click on Global Linkage Service then click the Settings button.
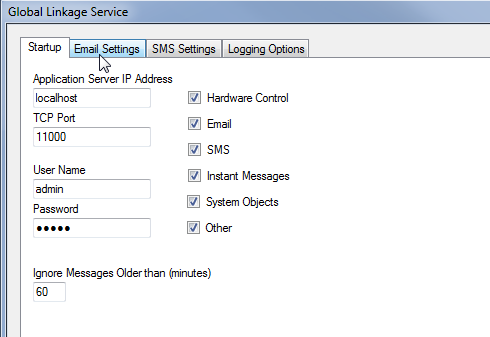
- The Global Linkage Service setup window will appear.
- Click on the Email Settings tab.
- Select your Email Type - the default option is Gmail.
- Enter you Account Name/Email address.
- Enter your Email Account Password.
- Place a tick in the 'Use Simple Email' option.
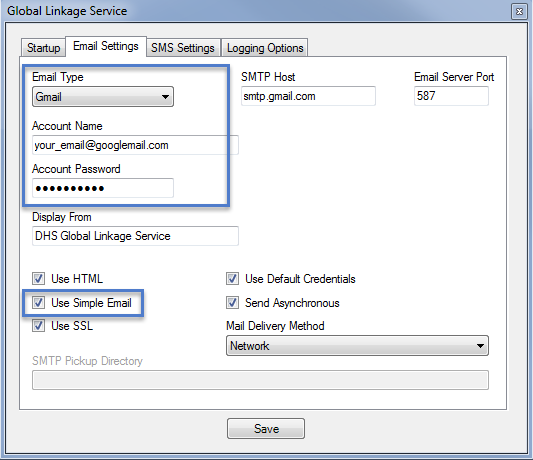
- Click the Save button.
- You will then be prompted to restart the Global Linkage Service so click Yes to this.
5.0 Test the Global Linkage Macro
- Return to Doors.NET Global Linkage setup page.
- Right-click on the Macro and choose 'Execute'.
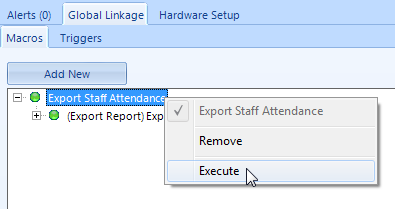
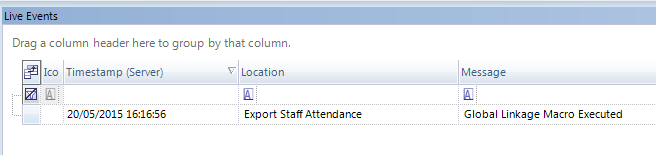
- Within a couple of seconds an event will be generated in Live Events stating the macro has executed.
Important Note: If you are using a Gmail/Googlemail email address you may receive an e-mail stating a sign-in attempt has been blocked. This is because Google have enhanced their security settings to reduce unauthorized email account access. Within the e-mail you receive you will have a link to where you can adjust you account settings. You will have to turn on Access for less secure apps. If you are not comfortable with doing this Keri recommends using a different e-mail account type for this feature.
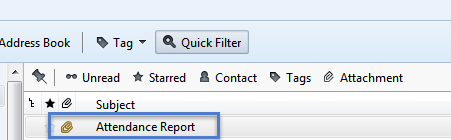
- Within a few seconds you should receive an e-mail at the recipient's e-mail address along with the report added as an attachment.
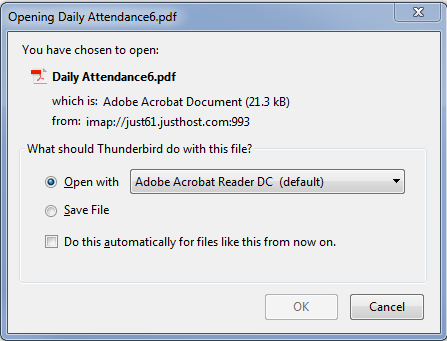
- Just like any other e-mail attachment you can choose to view the file or save it.
6.0 Configure Host Schedules to Automatically Export the Report
- From the Home tab click on Host Schedules in the Automation section.
- Click the Add New button.
- Highlight New Host Schedule 1 and the properties will appear on the right.
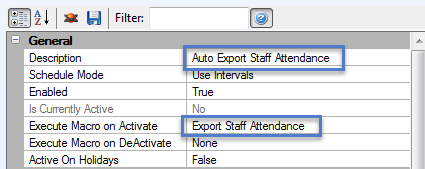
- Give the Host Schedule a new description.
- From Execute Macro on Activate select the new Macro from the drop-down list.
- Execute Macro on DeActivate should be left at None.
- In the Interval 1 section specify a start time (when you wish the report to be e-mailed).
- Set an end time a couple of minutes after the start time.
- Select the days of the week you wish the report to automatically be created and exported.
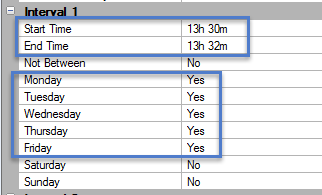
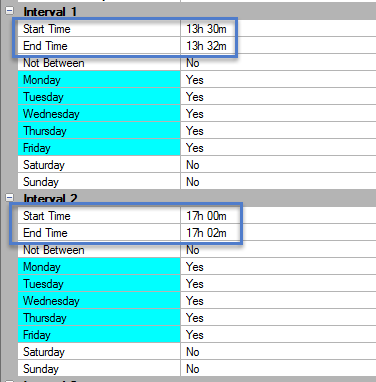
- Click save and a morning attendance report will then be e-mailed automatically at 13:30 on Monday through to Friday.
- You could also use the Interval 2 section if you want to generate the same report again at the end of the day.
Related Articles
Automatically Export an Attendance Report
1.0 Introduction This setup example explains how to automatically export a report which lists the cardholders that have badged their cards at some point during the day. For this you need to have three Licensed Features enabled in your license: Host ...Professional Report Client Setup
1.0 Introduction The system has a built-in report designer that allows you to create a new report from scratch or to modify any of the default reports. You can change fonts, add your own logo, change header and footer text, add a barcode field to the ...Professional Report Client Data Sheet
Attached.Reports - Hardware
Hardware Reports allow you to run a report on the properties and configuration of all the hardware on the system. This includes: Controllers, Device Types, Doors, Inputs, Magstripe Library, Network Camera, Outputs, Panels and the Wiegand Library. To ...Reports - Transactions
Effective from version 3.5.1.22, a series of improvements have been made to simplify and speed up the process of creating transaction reports. Most noticeably is the report wizard, which replaces the previous method of selecting your report criteria ...