Edit Access Groups
1.0 Introduction
Any alterations to existing access groups can be made very quickly and easily on the access groups page.
Note: It is not possible to adjust an assigned time schedule for a reader. You must remove the reader and the schedule and then re-add the reader with a different schedule.
Note: It is not possible to adjust an assigned time schedule for a reader. You must remove the reader and the schedule and then re-add the reader with a different schedule.
The process of creating access groups has already been covered, the following procedure explains how to remove access groups or un-assign readers or associated time schedules.
2.0 Removing Readers From Access Groups
- When editing access groups, the first thing you should initially do is click on the Clear Selections icon. This ensures, to begin with, nothing is selected on the page.
- Click the expander icon (located on the left of the access group name).
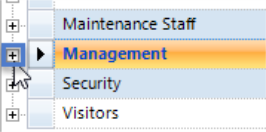
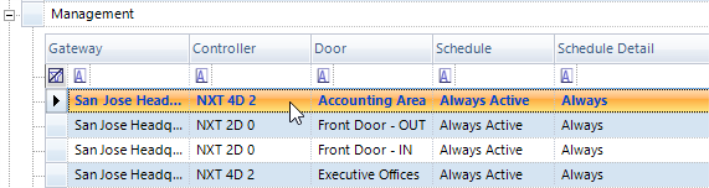
- You will see a list of assigned readers.
- Select the reader you wish to remove.
- Click the Un-assign icon.
- Click yes to confirm the change.
3.0 Delete an Access Group
- Select the Access Group that you wish to delete.
- Click the
 icon.
icon. - A removal confirmation window appears. Click the Yes Button.
- The access group will be removed from the list.
Note: You will not be able to remove an access groups while there are readers assigned, you must first un-assign all the readers.
Note: As is typical with Windows based programs, you can select multiple, items or consecutive items using the standard Windows Ctrl-Click and Shift-Click commands.
4.0 Manually Updating PXL Controllers
When adding doors to access groups or removing doors from access groups the PXL controller are not updated automatically. Therefore, these controller types will need to be manually updated, as per the following steps:
- Add or remove doors from an access group.
- Go to Setup >> Hardware Setup >> All.
- Expand the list of PXL controllers.
- The PXL controllers which require an update will have an update required icon next to them (as highlighted).
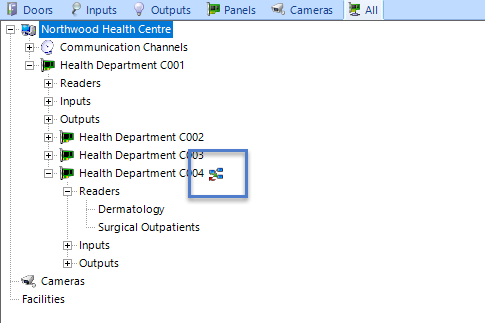
- Select the controller which requires an update.
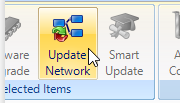
- Click on the Update Network icon located on the ribbon bar.
- Open live events and you will see an Update Network Started event.
- Wait until you see an Update Network Complete event.
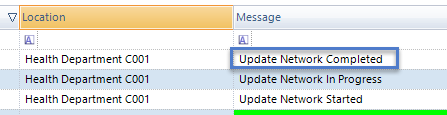
- The changes have now been updated at the controller.
- Repeat steps 5 - 8 for any additional PXLs that require a manual update.
Related Articles
Doors.NET - Create and Edit Access Groups
This video explains how to create and edit access groups in the Doors.NET software.Setup Access Groups
1.0 Introduction Access groups are setup in Doors.NET via Home >> Access Groups. There are two default access groups; Never and Total Access. When a controller is added to the system it's doors are automatically added to the Total access group (with ...Setup Elevator Control Access Groups
1.0 Introduction When using Elevator Control with MSC or SCP hardware you have to setup Elevator Access Groups. These are then assigned to a general access group which can then be assigned to a cardholder. 2.0 Create and Assign Elevator Access Groups ...Cardholder Access Rights
The Access Rights page displays a list of all the access groups that have been defined on the system. Access Groups consist of the readers on the system, along with the associated time schedules. Once access groups have been added to the system they ...PXL Access Rights Limitations
When using PXL controllers there are certain limitations related to the assignment of access groups. A cardholder can have up to 8 access groups assigned as long as no doors exist in more than one group and providing the doors for a particular ...